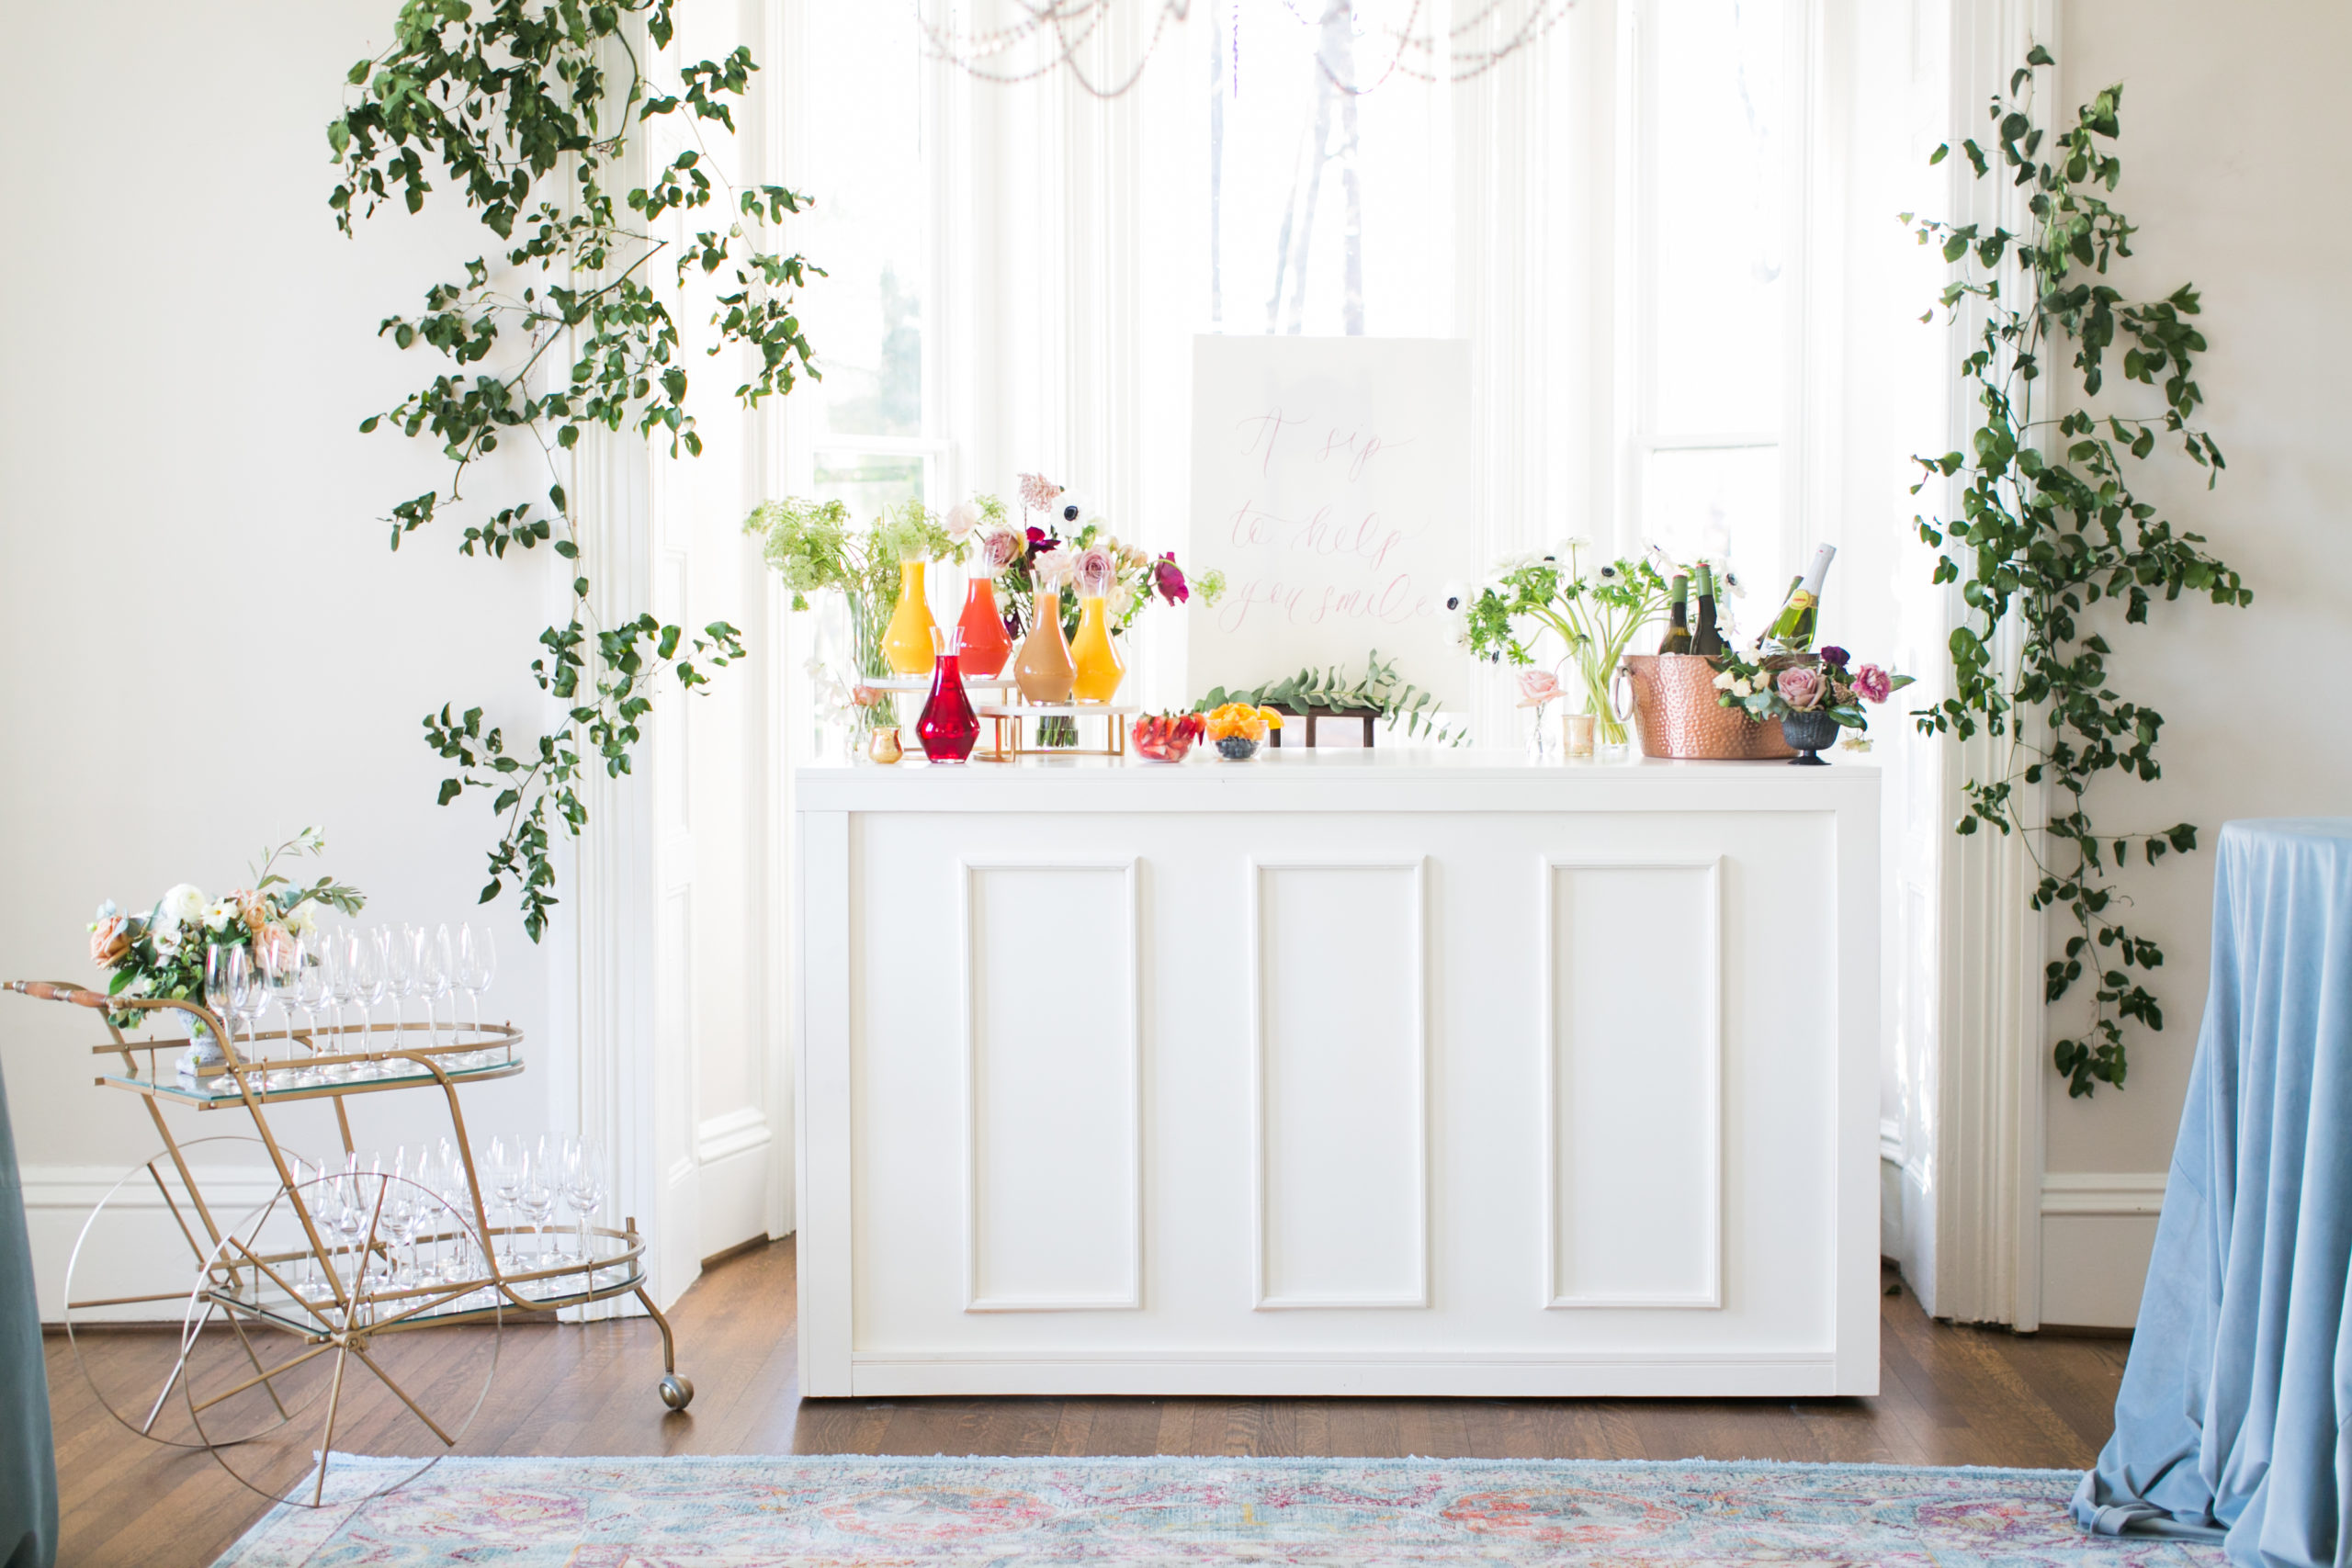
How to Create the Perfect Mimosa Bar
June 9, 2022
Mimosa bars are a detail that can easily add color, personality, and (of course) champagne to your event! Bridal showers, luncheons, or just a get together with friends can be elevated by the presence of juice, fruit and bubbles. Simple as that! After having designed dozens of mimosa bars, I’m here to share the must-haves to make your bar not only taste amazing but look beautiful. You don’t have to buy top dollar champagne or have a bartender involved for your drinks to shine!
It’s really as simple as this: Assorted Juices + Champagne & Fruit + Champagne Glasses + Signage + Greenery/Flowers. It can be a design-it-yourself project for you and a serve-it-yourself experience for your guests!
Assorted Juices
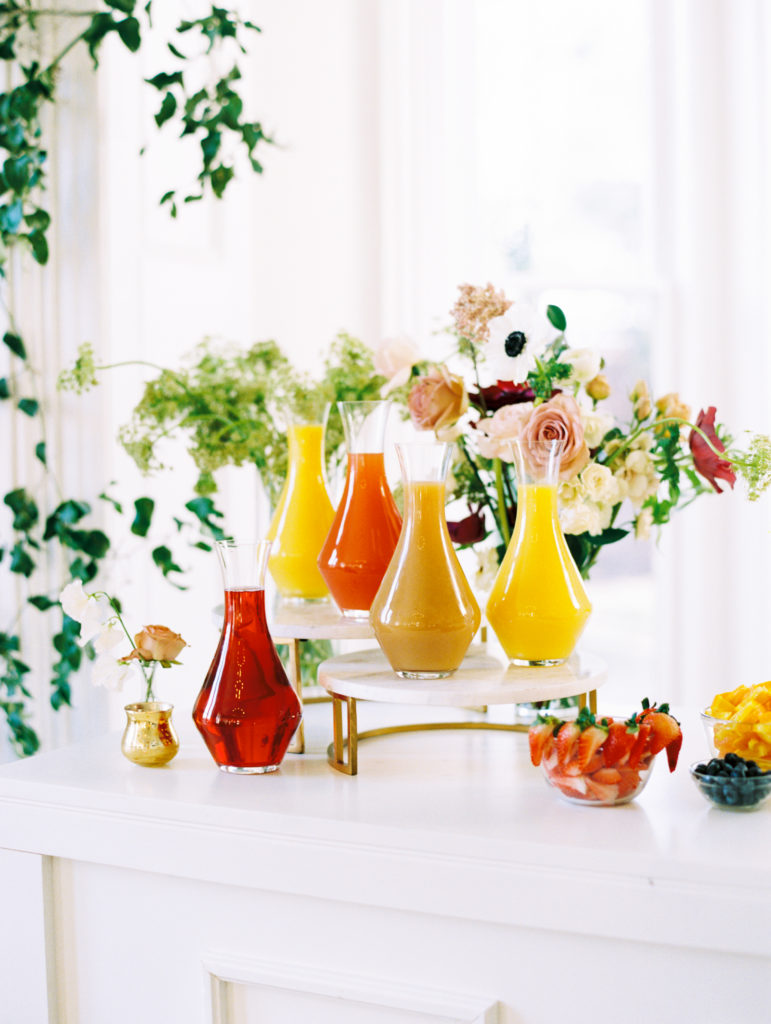
One of the best things about a mimosa bar is that it can reflect any event, occasion, or season you want to infuse into the gathering! Maybe your mimosa bar is for a baby shower in October and you choose to do a pear juice to play off of the warm brown tones of the season. Are you hosting a bridal shower in December? Opt for cranberry juice to bring in some deep red holiday colors. Is this for a ladies luncheon one summer morning? Try pairing orange juice with a grapefruit juice for another tart, fresh, bright option on a warm day. Your juice can both add depth to the bar based on seasonality and aesthetics. And, don’t be afraid to pair multiple juice options together giving your guests the chance to experiment and create a different drink with each pour!
Styling tip: We love displaying our juices in a variety of clear carafes for a simple, cohesive look. Add a tiered display piece to add height variation to your display. This adds more intrigue for the eye than if you were to have a bunch of containers the same height on the same plane.
Champagne & Fruit
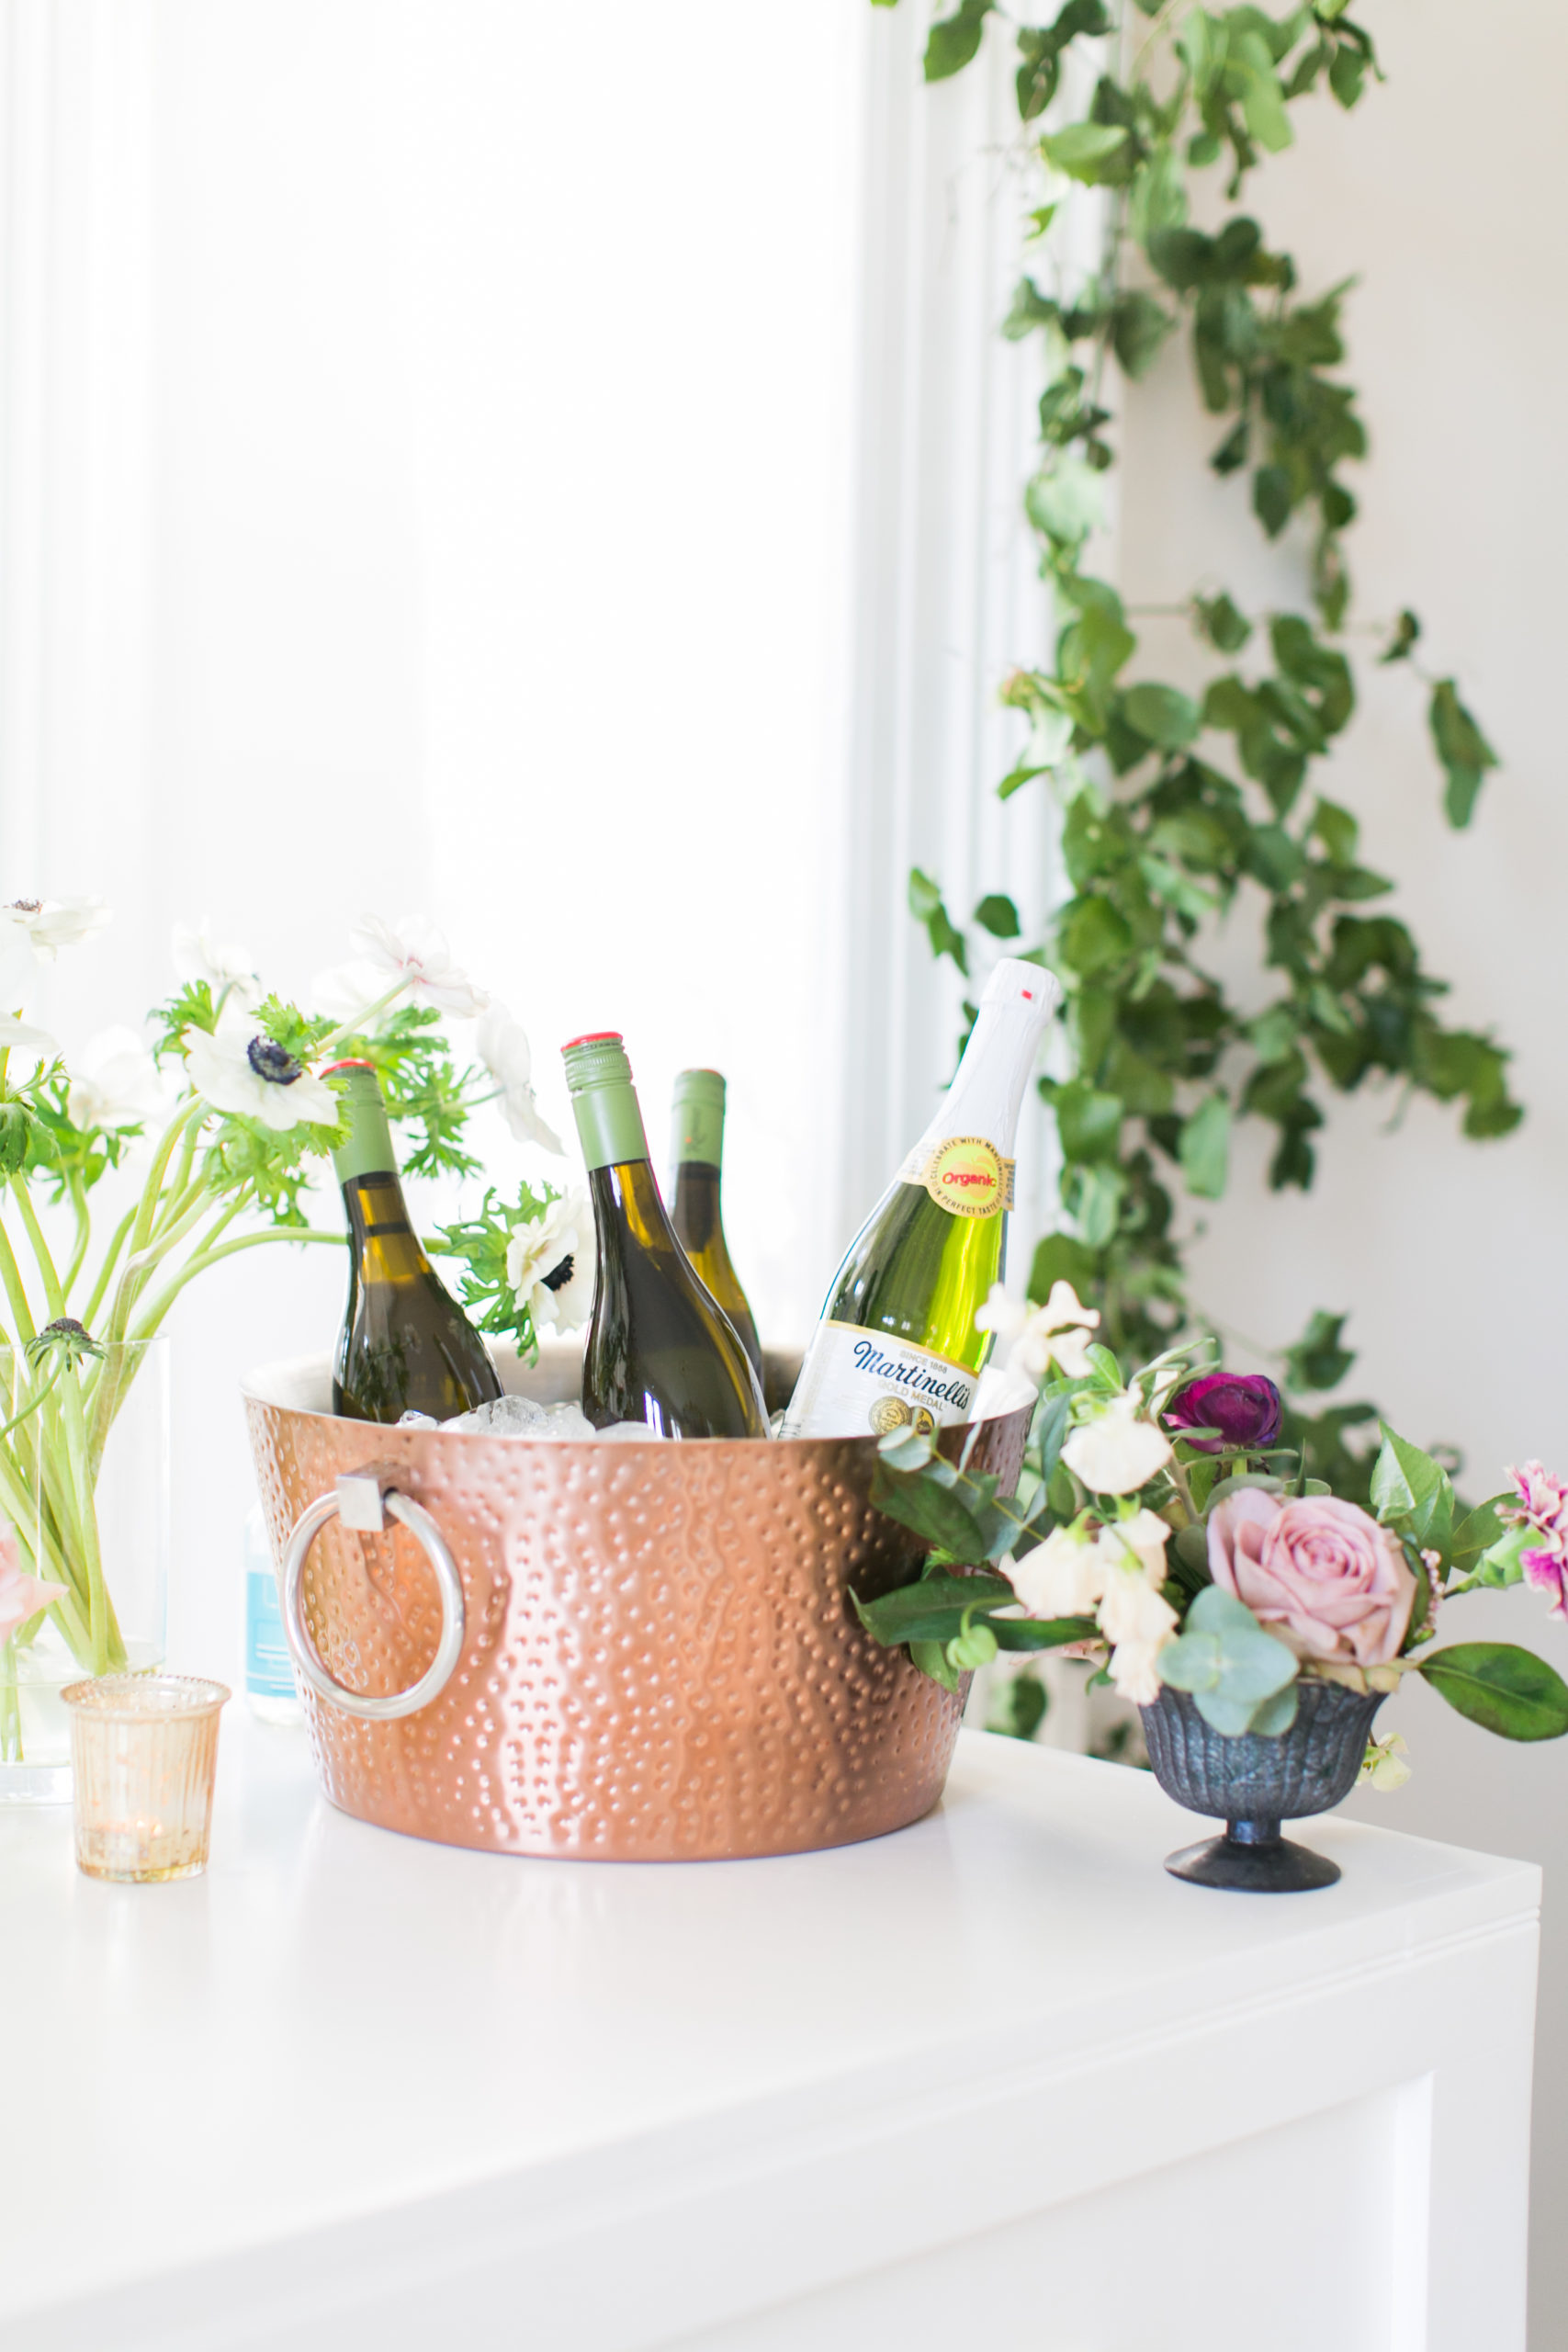
Always keep your champagne on ice! Nothing is worse than a flat or warm bottle of champagne. Typically, you can get 6-8 pours out of a bottle (depending on the size of your glassware), which is something to keep in mind as you plan out your shopping list! Have a pregnant or underaged guest? Add a bottle of sparkling cider so they can join in on the fun!
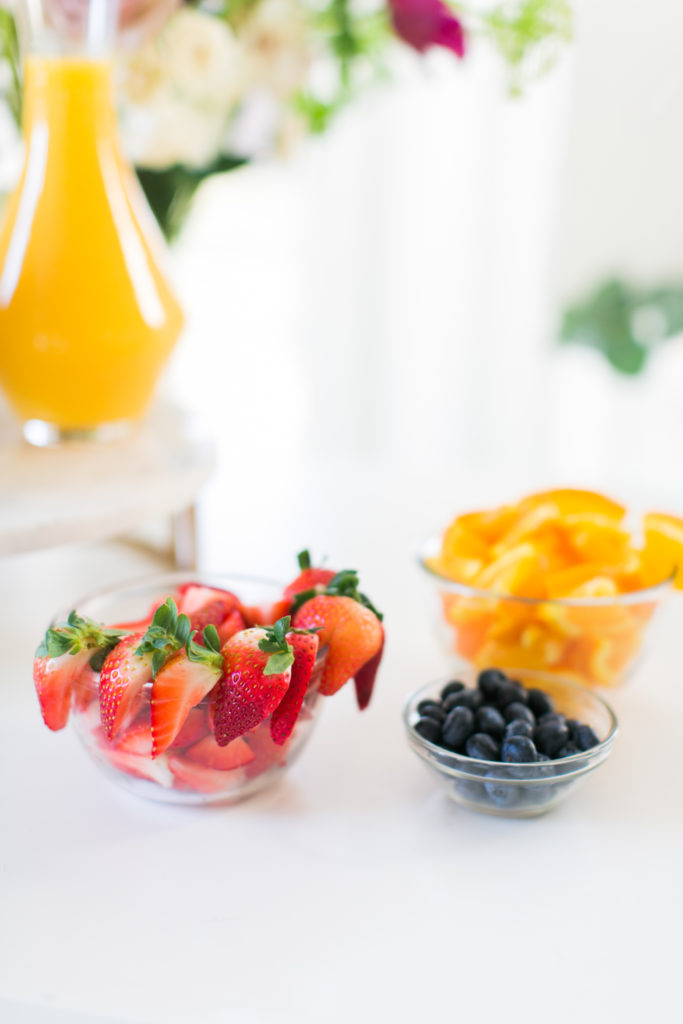
The fruit is another element where you can infuse color and creativity into your display. Your fruit doesn’t always have to coordinate directly with the juice (i.e.: cranberries to garnish a cranberry juice mimosa). In fact, I think it’s better if it doesn’t! Have 3-5 fruit options in separate bowls with spoons so your guests can create their own beautiful concoction!
Style Tip: Use bowls in varying sizes to display your fruit. It will add visual interest as well as make sense – larger fruit/slices can go in the larger bowls and smaller fruits – like berries – in the smaller bowls. We used clear bowls for the mimosa bar pictured here, which is great if you want the color to truly stand out. If you want to see a bit less color, opt for a bowl that coordinates well with the other colors on the bar.
Champagne Glasses
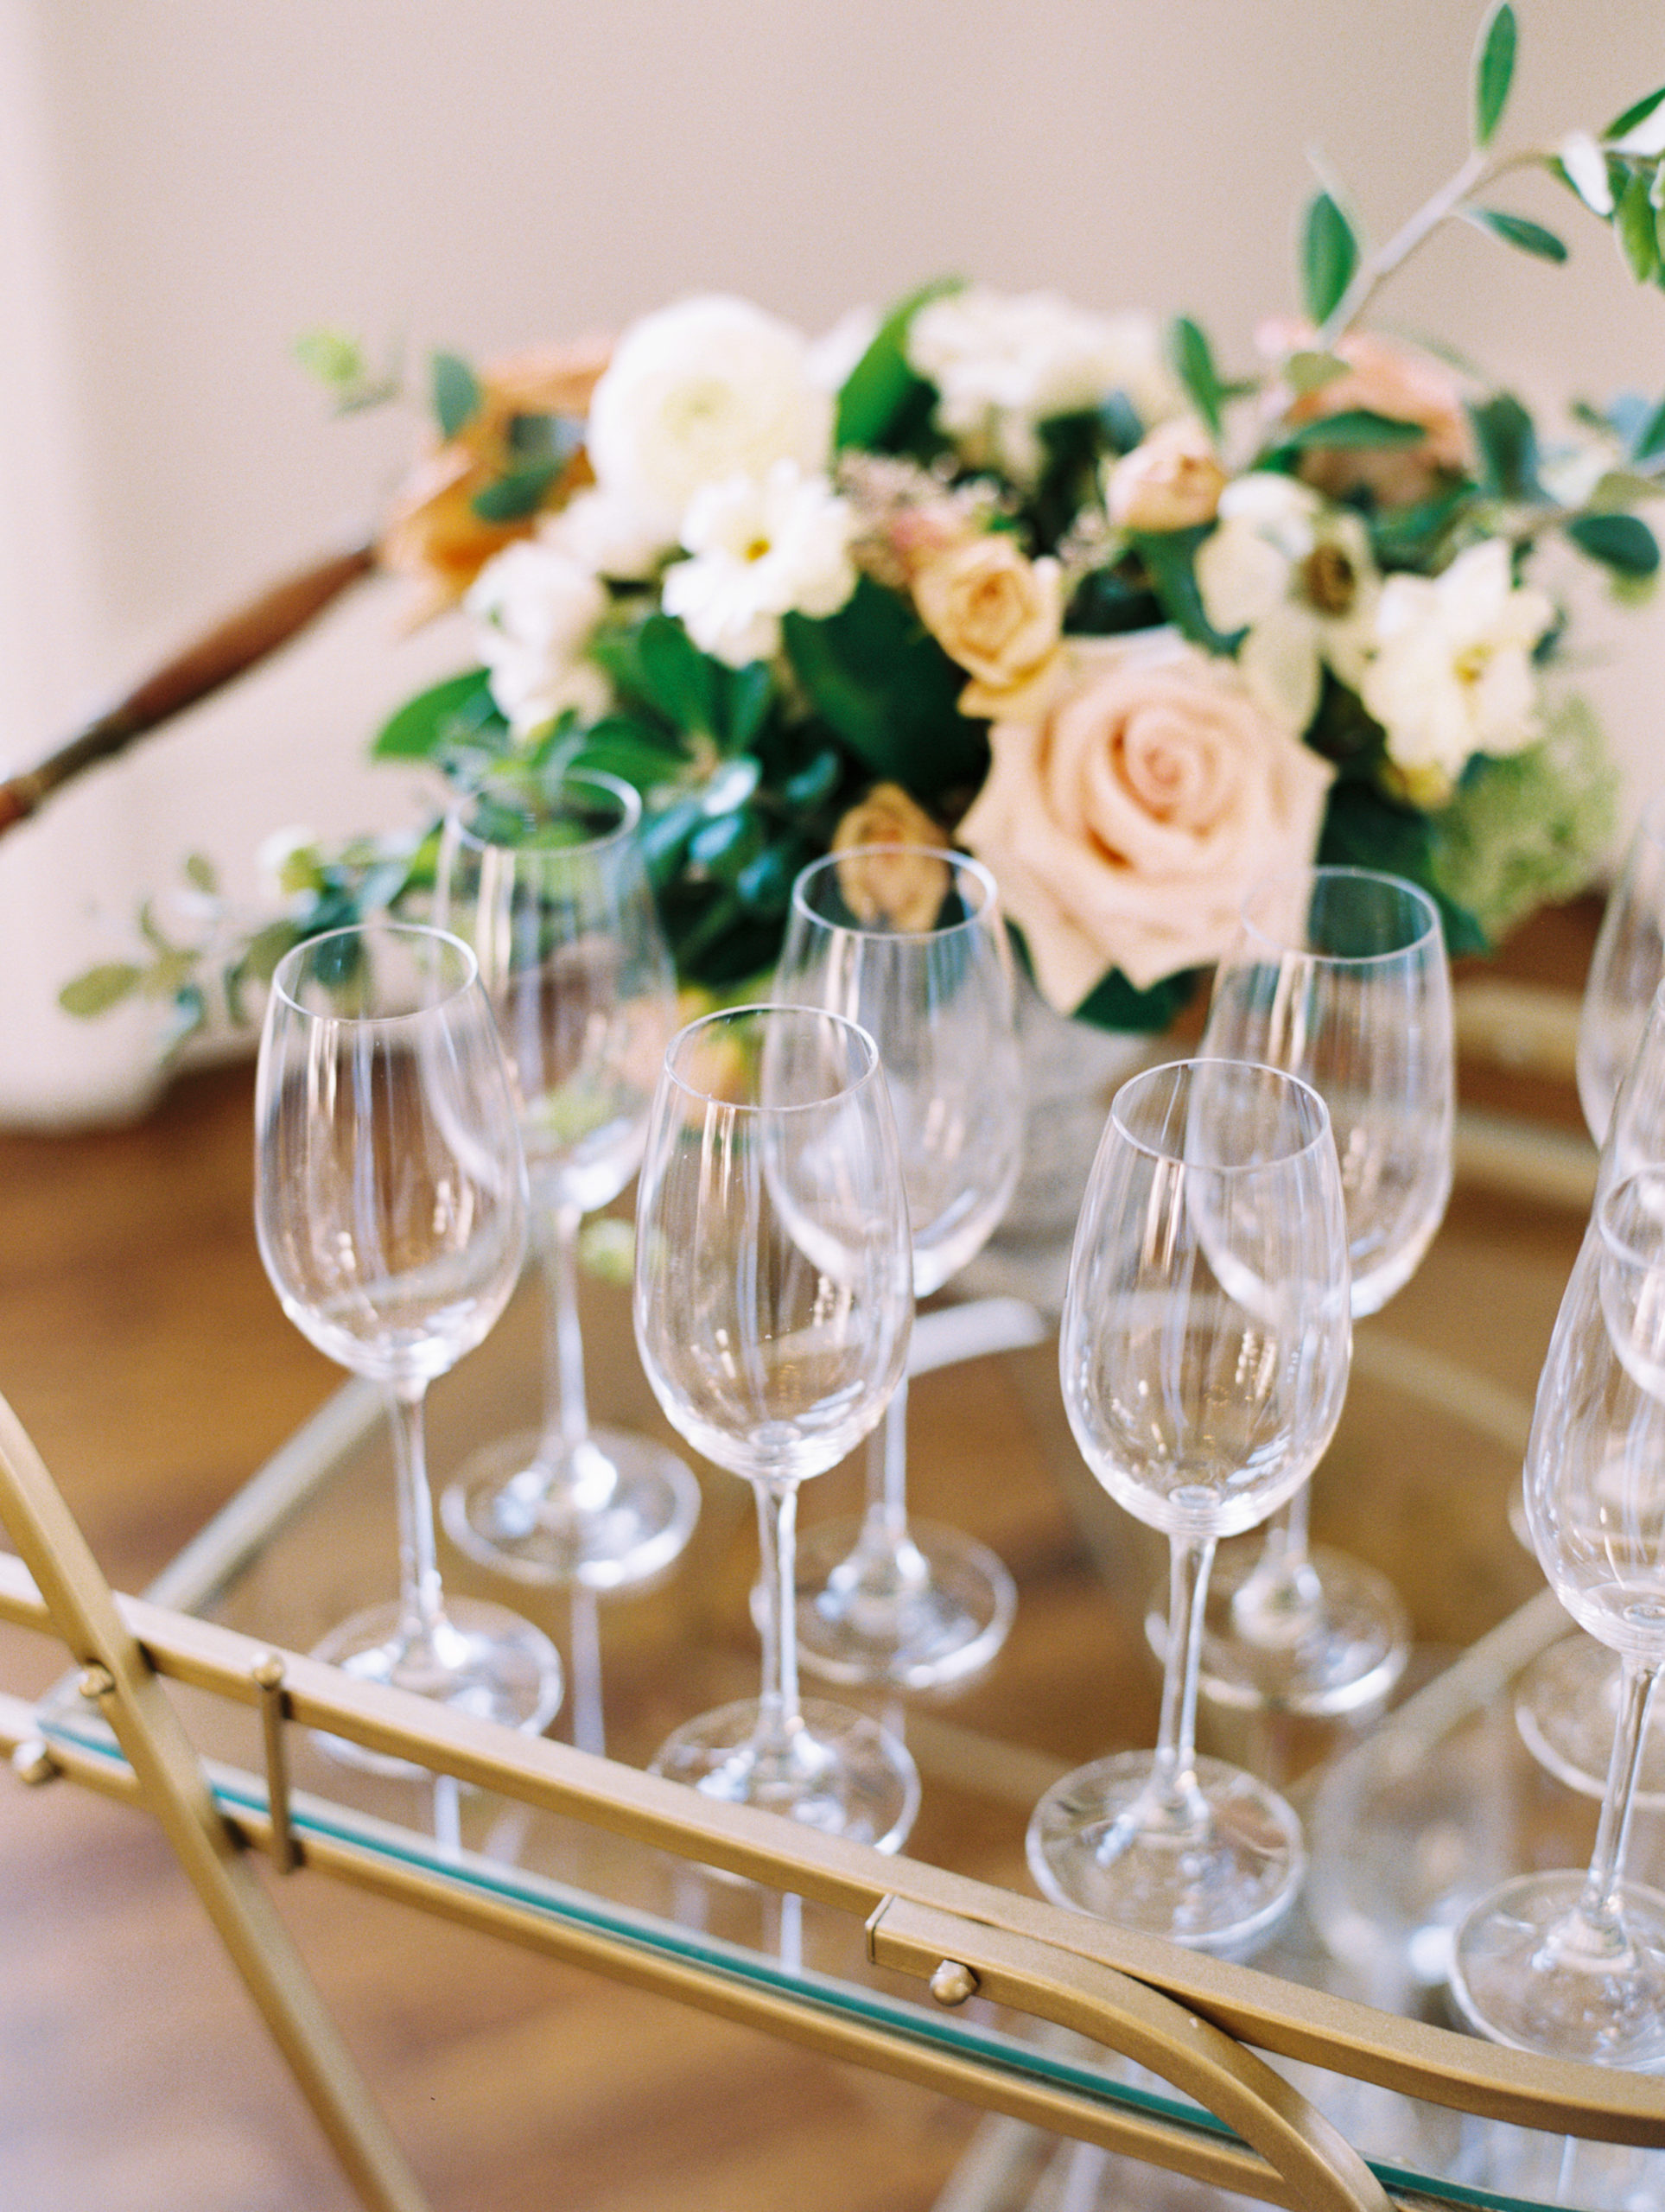
Remember: the size of the glass determines the size of the pour I recommend the largest size glassware you consider using is a traditional champagne flute. A wine glass could lend itself to much heftier pours, which would mean more alcohol consumed. Depending on your event, you probably don’t want your guests feeling tipsy mid-day! The champagne flutes below were a perfect size! You could also opt to do vintage glassware or something with color for some variety.
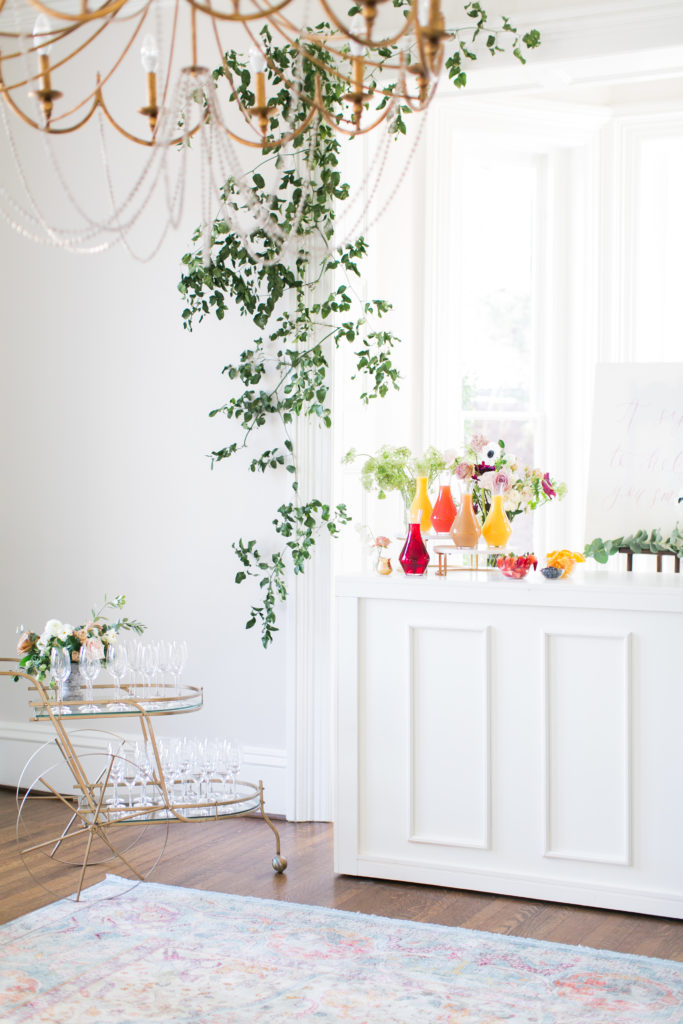
Style Tip: Think about displaying your glassware off of the bar. Chances are your bar/table won’t have enough space to hold the champagne, glassware, fruit, juices, and any flowers or greenery you may incorporate. This vintage bar cart from Greenhouse Picker Sisters was the perfect way to have the glassware convenient to the bar while giving it its own vignette. A shelf, smaller table, bar back, or any other smaller piece could work well to hold the glasses! If you can’t tell, height variation is key. It helps to add interest when the pieces are all the same (like champagne glasses). (Read more about incorporating specialty “wow factor” rentals into your next event!)
Signage
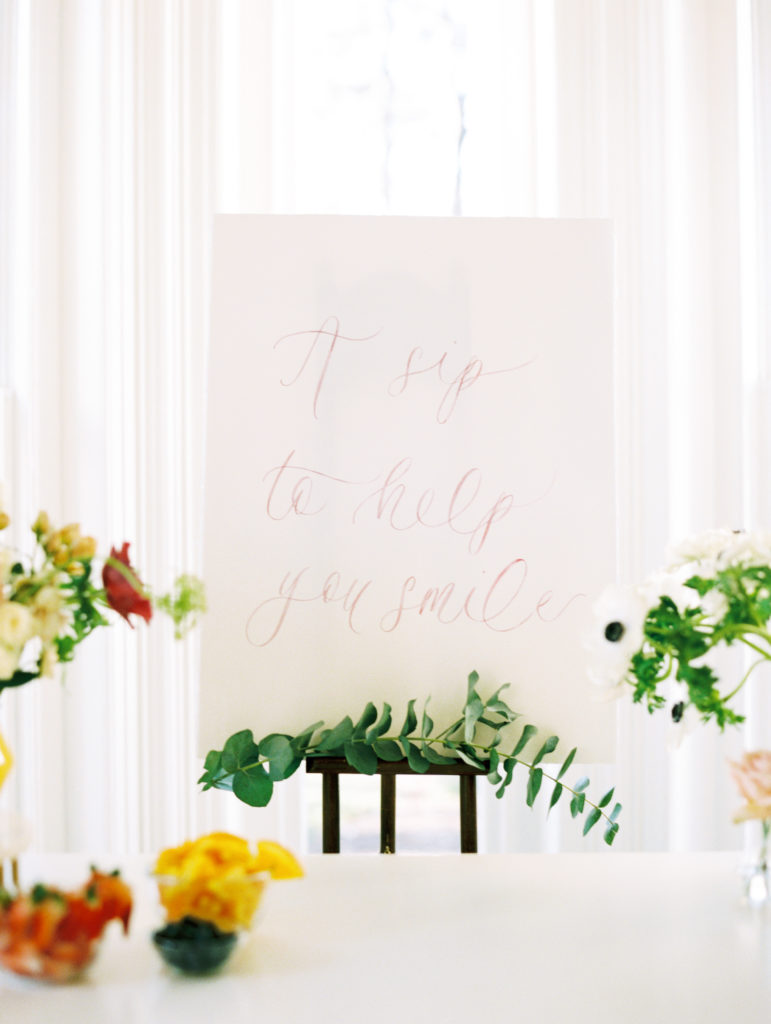
We have done a variety of signage in the past for our mimosa bars, from a sample “recipe” to something as simple as cheers! If you have out-of-the-box ingredients, I recommend giving your guests a recipe of sorts to follow as they build their drinks. The sign we used said “A sip to help you smile” because the ladies were having headshots taken at this event. It was something cutesy that had to do with both the mimosa bar and the event as a whole!
Style Tip: You don’t have to do something extravagant for it to be effective! If you don’t trust your calligraphy or painting skills, consider printing something off using a pretty font and frame it to coordinate with the colors in your utensils and bowls. No need to go learn a new skill just for your signage!
Mimosa bars are a detail that can easily add color, personality, and (of course) champagne to your event! Bridal showers, luncheons, or just a get together with friends can be elevated by the presence of juice, fruit and bubbles. Simple as that! After having designed dozens of mimosa bars, I’m here to share the must-haves to make your bar not only taste amazing but look beautiful. You don’t have to buy top dollar champagne or have a bartender involved for your drinks to shine!
It’s really as simple as this: Assorted Juices + Champagne & Fruit + Champagne Glasses + Signage + Greenery/Flowers. It can be a design-it-yourself project for you and a serve-it-yourself experience for your guests!
Greenery & Flowers
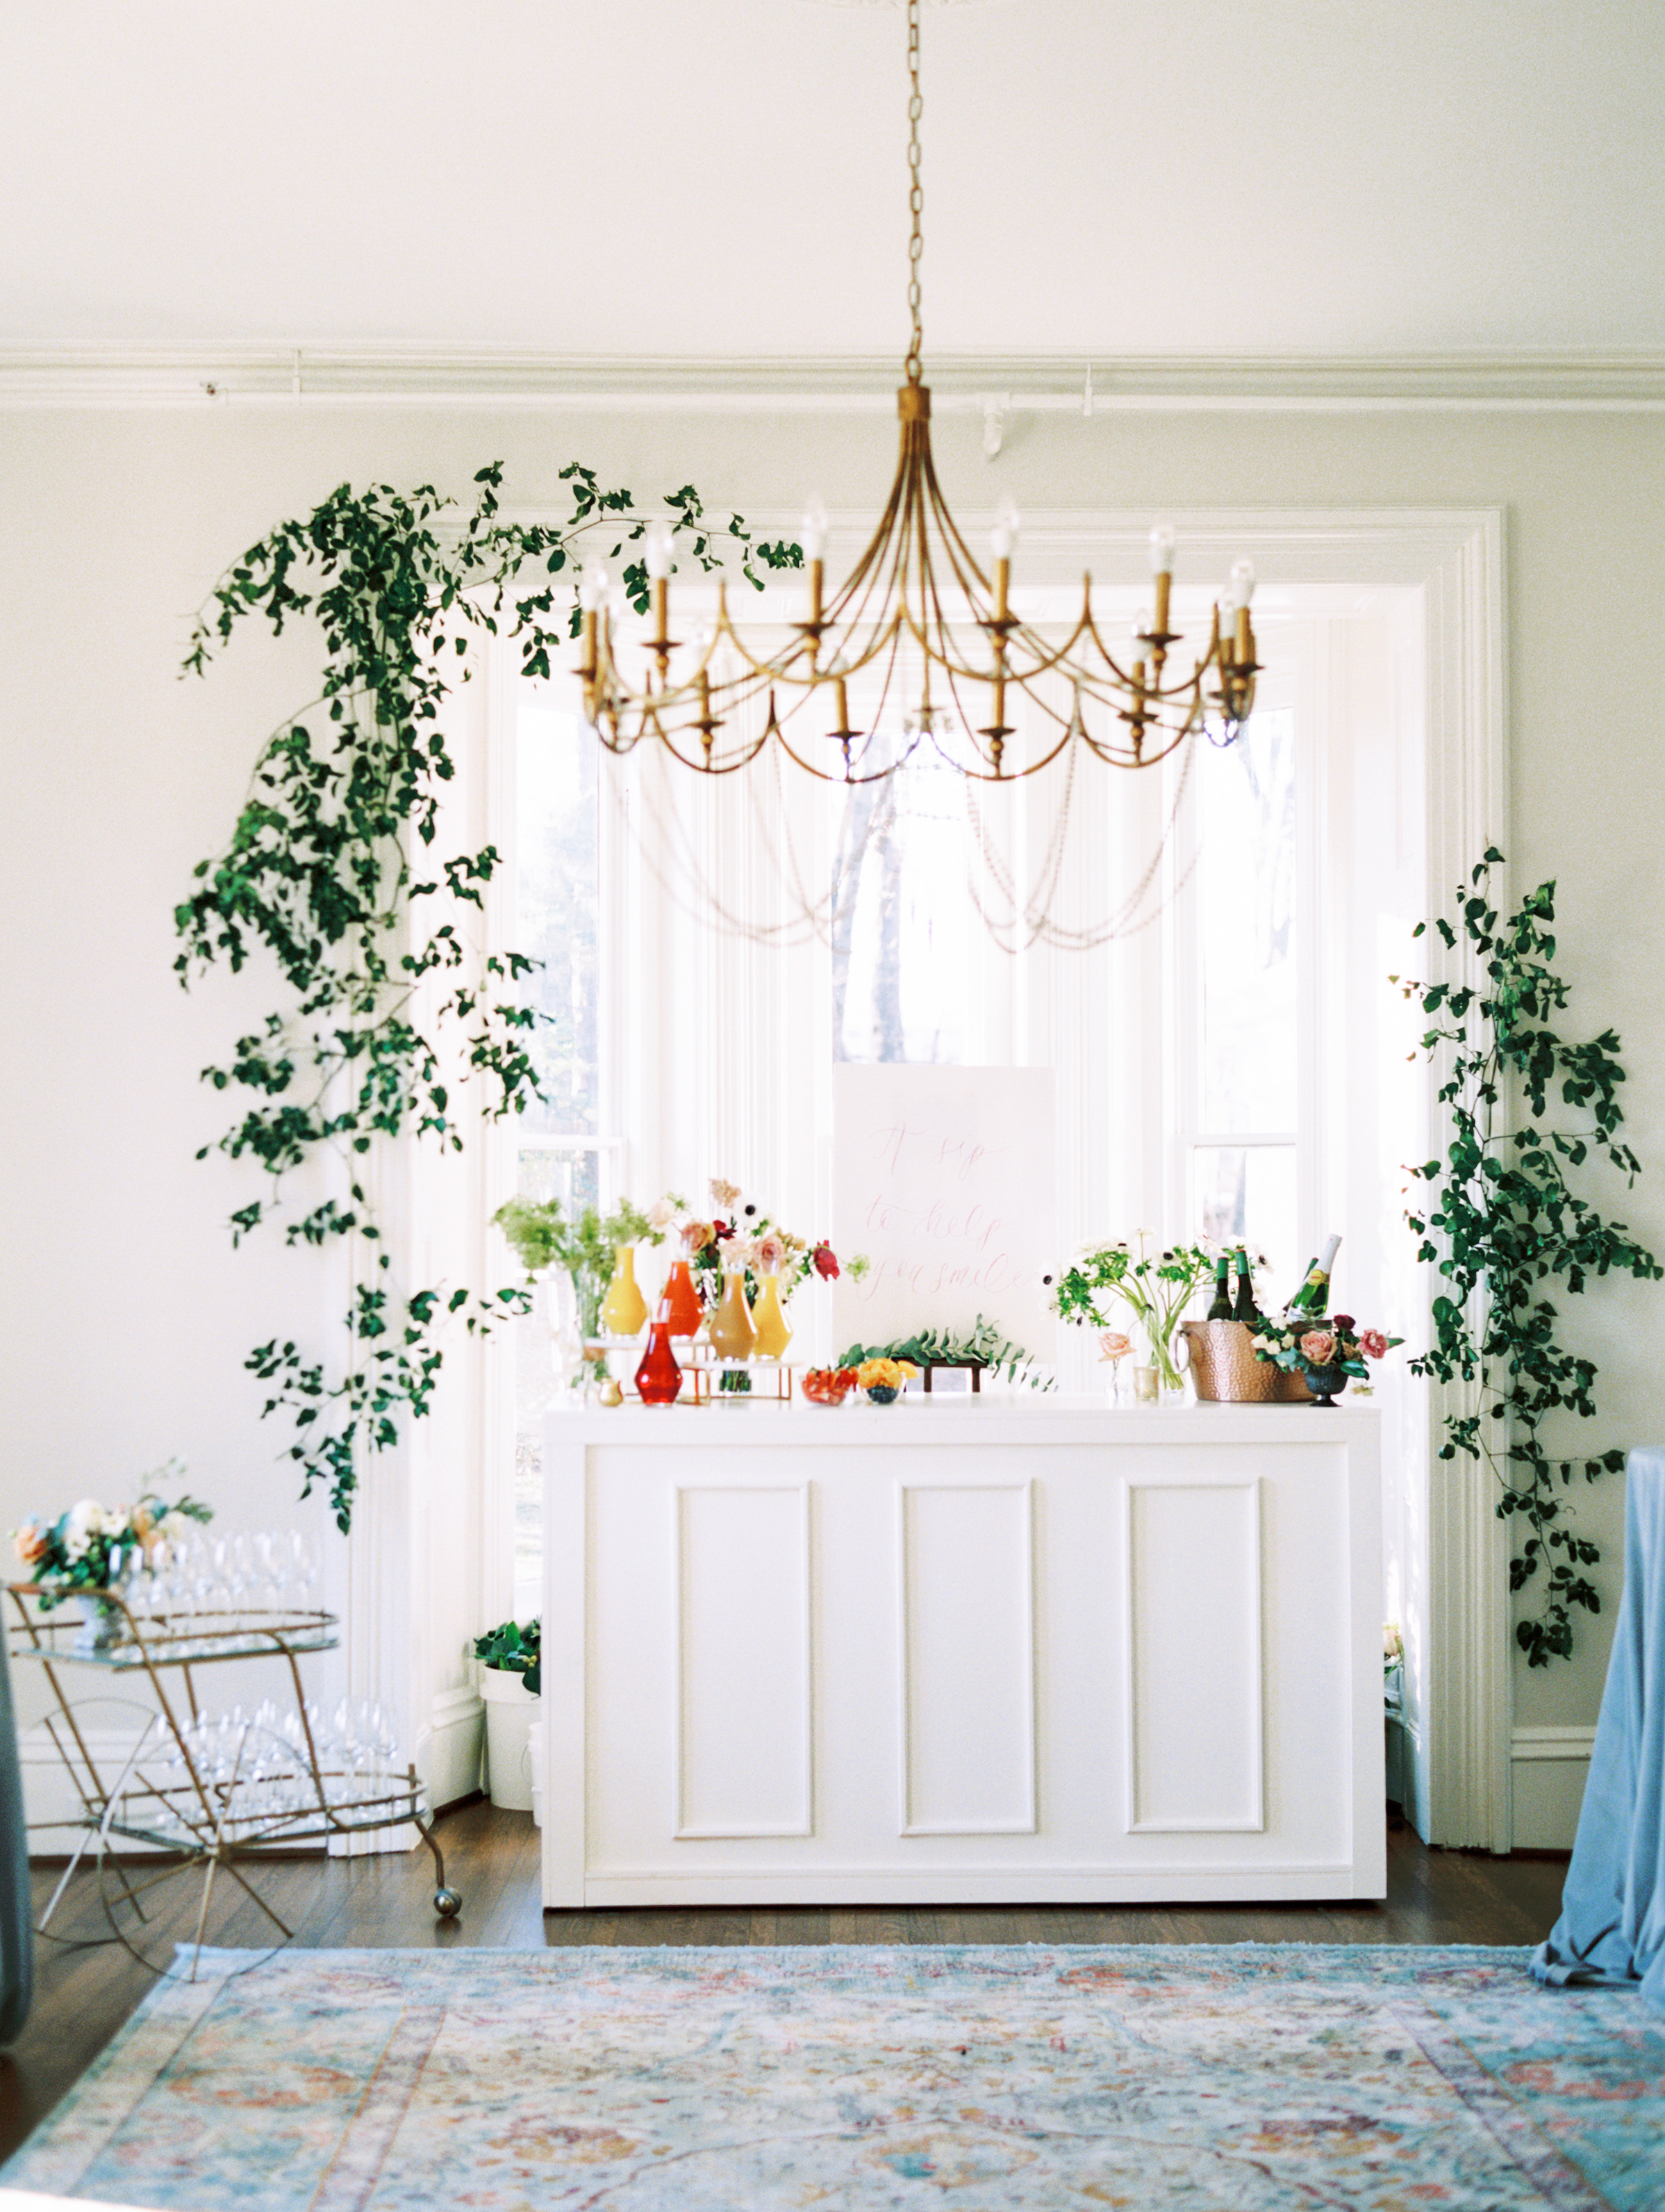
As always, adding greenery and flowers brings so much life (literally) to your design! Obviously, we love a beautiful greenery installation and floral designs by our In-House Florist, Andraya (as seen in these photos). You can try your hand at creating a beautiful centerpiece to add to your bar or you could simply add clippings from your yard on the bar/tabletop and in bud vases!
Style Tip: Choose greenery and flowers that complement the colors and feel of your mimosa bar. This build-it-yourself style works well with more organic and whimsical choices like crawling greenery and loose arrangements. Again, you don’t have to learn a new skill to incorporate this element (although you could here!), but have fun playing around and adding some life to your mimosa bar!
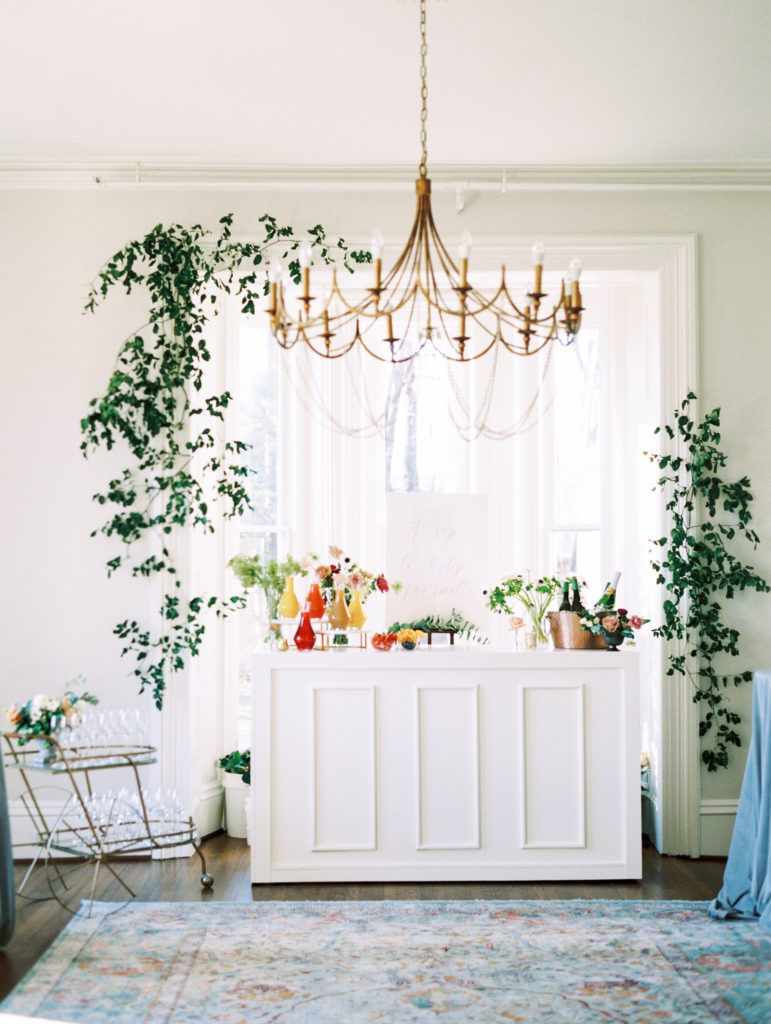
Photography by Ally & Bobby from The School of Styling at McAlister-Leftwich House