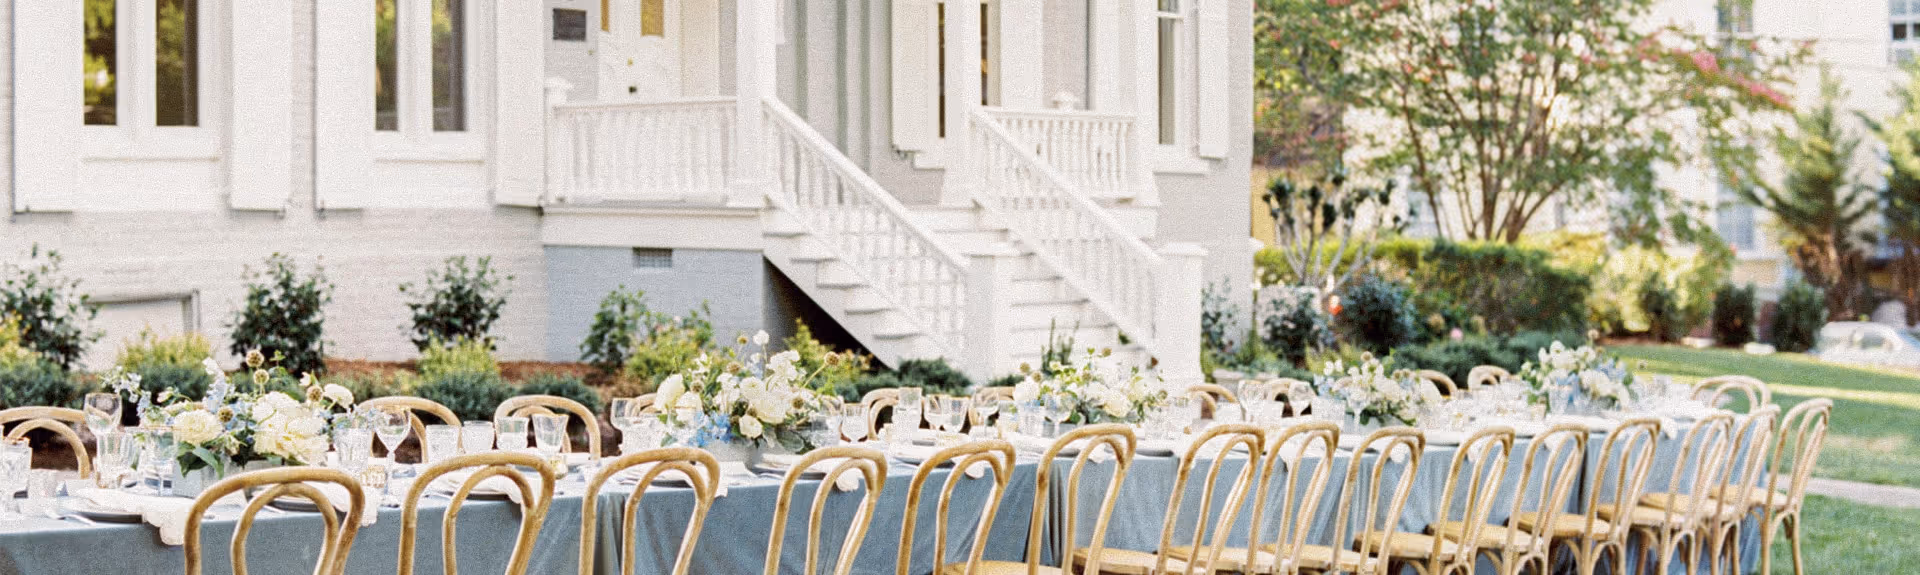
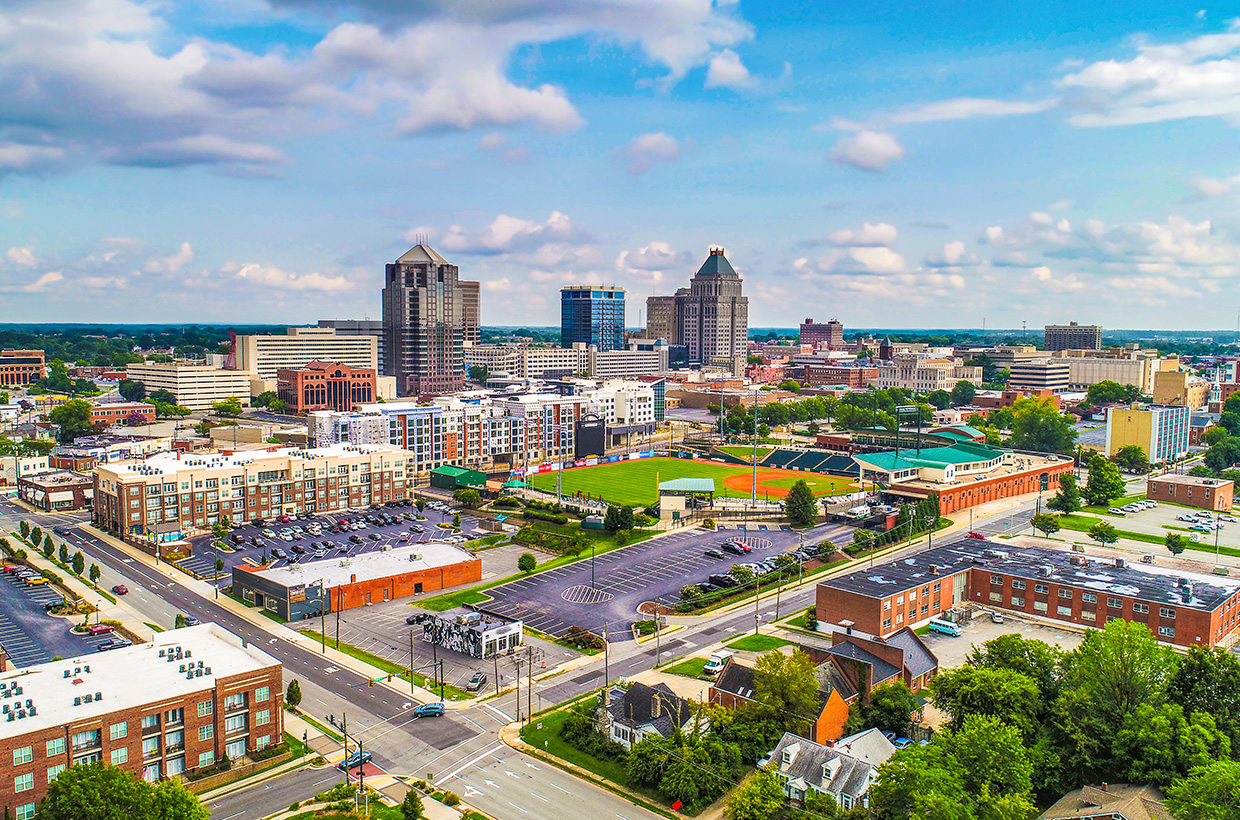
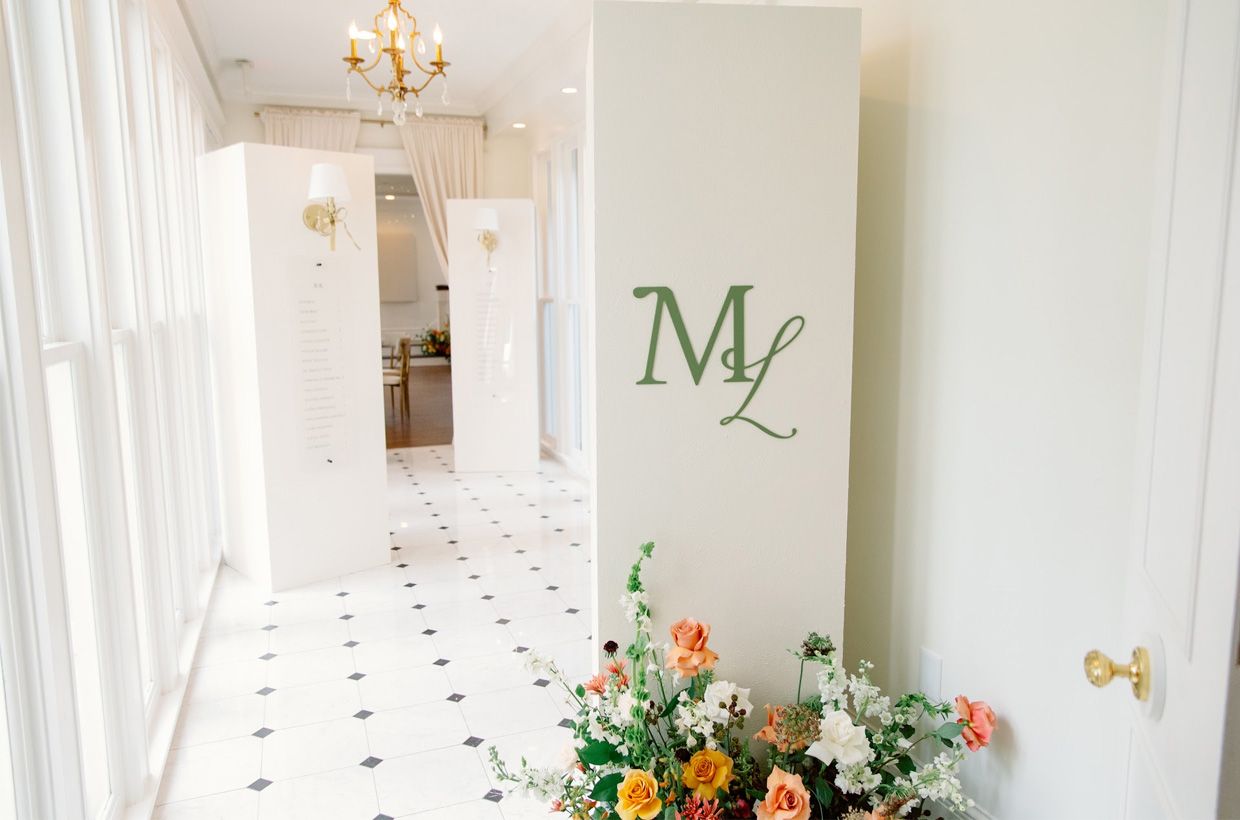
fbpx

Step-By-Step Centerpiece Tutorial with Greensboro, NC Florist


Hi! I’m Andraya, owner and designer behind Flora Wedding + Event Flowers, and today I’m going to walk you through some easy step-by-step design tips to putting together your own floral centerpiece!


Let’s meet the flowers that brought this colorful little arrangement to life!


(Left to right) Cotton Candy rose, blush carnation, blush sweet pea, blush ranunculus, pink stock, Pink Mondial rose, white ranunculus, blush rice flower, and Champagne rose. I also used greenery including lemon leaf and eucalyptus.

Next, we’ll take a look at the mechanics used to make sure our arrangement came together.

I used a watertight ceramic compote from Accent Decor, clippers, wet floral foam, a little bit of chicken wire and oasis tape.

First, nestle your water-soaked floral foam in the container. Then take your square of chicken wire and make a low dome-like shape over top of the foam, and tape in a cross section on top of the chicken wire so that it stays secure. Add a bit of water and you’re ready to start designing!


Next, start building out the shape of your arrangement with some stems of greenery. You don’t want to add so much that there’s no room for flowers, but starting with a layer of greenery will help you define the shape, size, and lines in your floral design.


Next, we’ll start to add some color and blooms! I find that it’s best to start with some of your larger blooms first…


Start by measuring how many stems you think you’ll need, cut at a diagonal, and place into your floral foam. Remember that you want to hide as much of the rim of your container and your mechanics as possible, so it helps sometimes to start by placing your blooms low like this bright pink rose.


Continue placing blooms, paying attention to the shape and lines that you are creating and even that you already started with your greenery. It’s important to have different layers and dimension to your arrangement and you can easily achieve that by placing stems next to each other, but at different angles, heights, etc.


My arrangement now has two of those sassy Cotton Candy roses and two pieces of pink stock. Let’s start moving through the rest of the composition…

Color is a big part of the composition as well! I decided that I liked the idea of this arrangement having a bit of an ombré effect moving from lighter to brighter tones from side to side, so I reached for some of my mid-pink and blush blooms next!


And don’t forget texture! Look how fun that little bundle of rice flower looks nestled down deep in the center of the arrangement. Allowing that stem to be placed low and some of the other more delicate stems like the sweet pea and white ranunculus to flutter higher in the composition helps it to feel balanced, as well as that ever-desired “light and airy” vibe.


Allowing some stems to nestle down in the heart of the arrangement and others to burst and flutter above creates movement and dimension that will help you achieve that natural, organic look.

Now get those clippers out and give it a shot!

How to design a centerpiece! Step-by-step tutorial with Flora Wedding & Event Flowers in Greensboro, NC

A big thank you to Andraya for teaching us how to make a beautiful centerpiece and to A.J. Dunlap for photographing it!

Leave a Reply

Your email address will not be published. Required fields are marked *