Colorful Pumpkin Painting with Kids
October 16, 2021
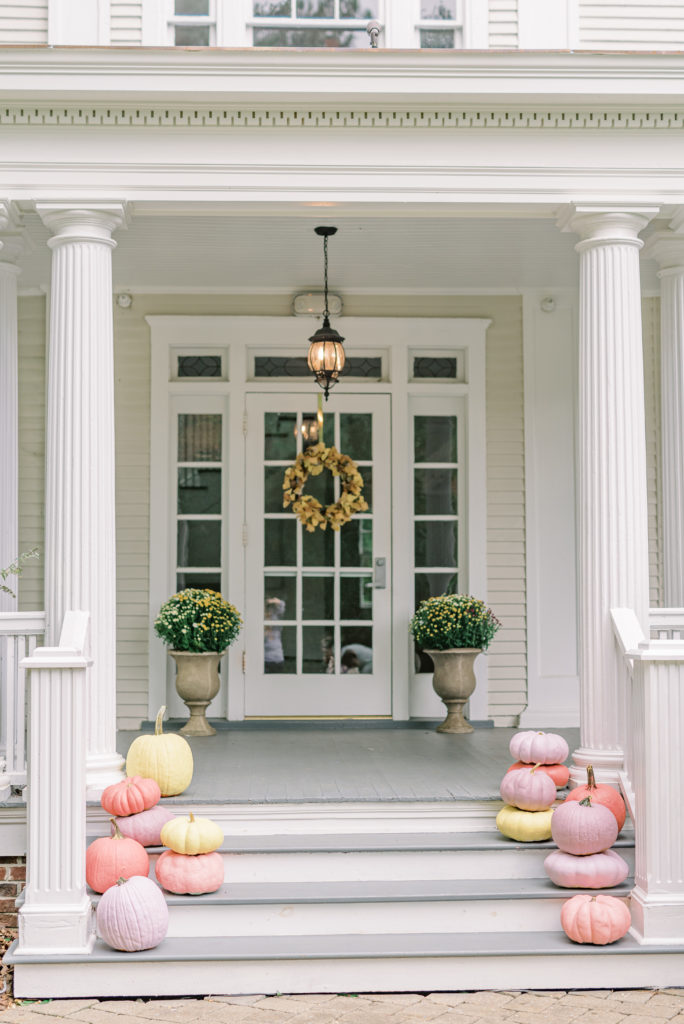
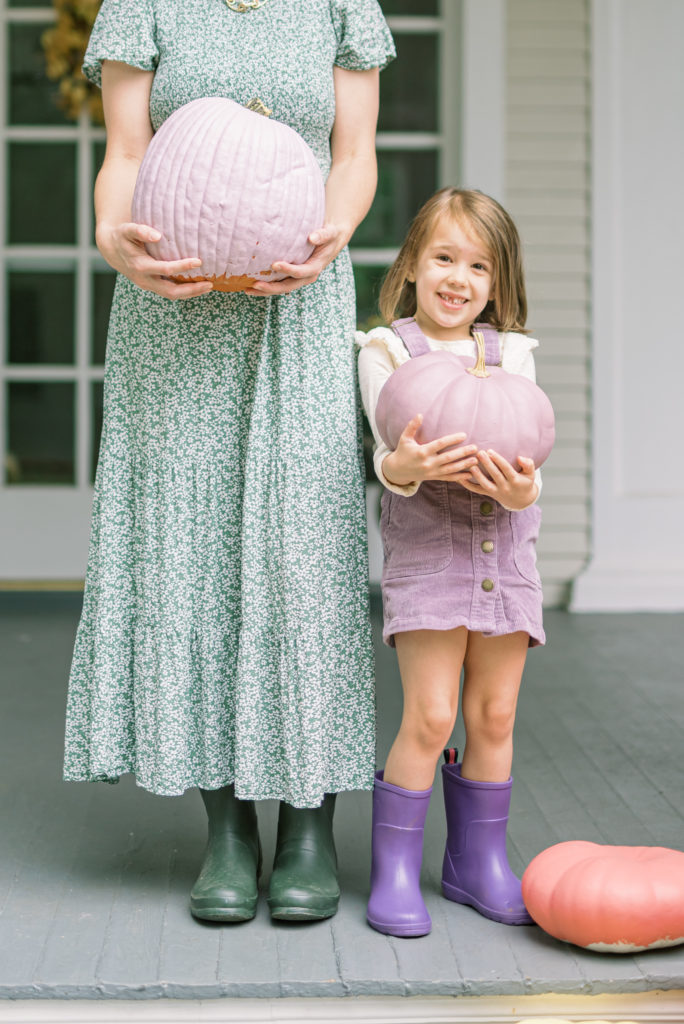
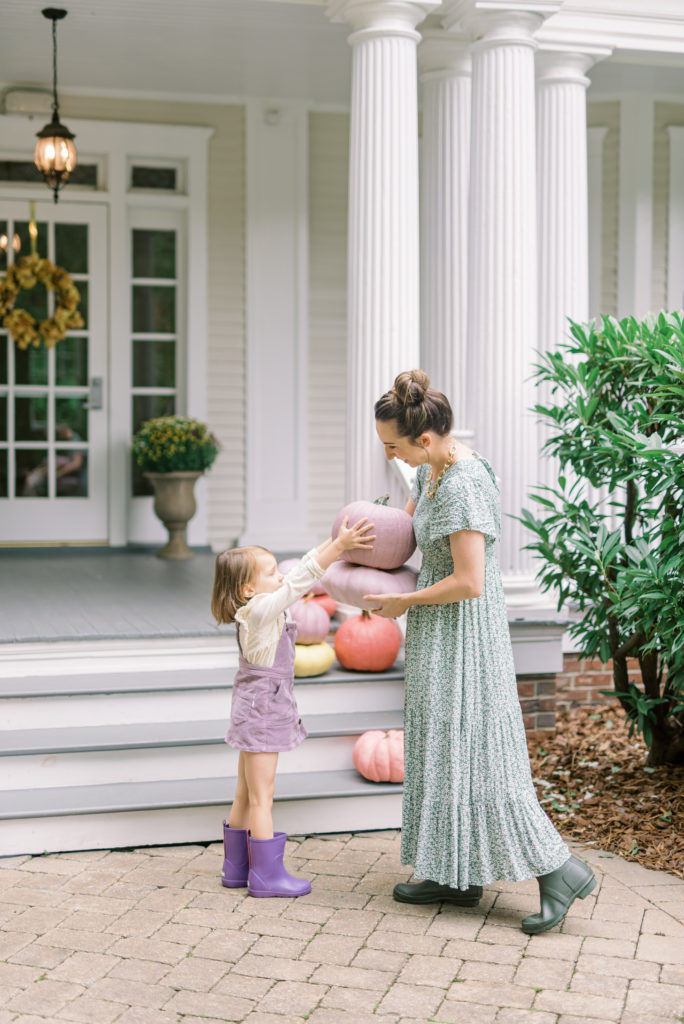
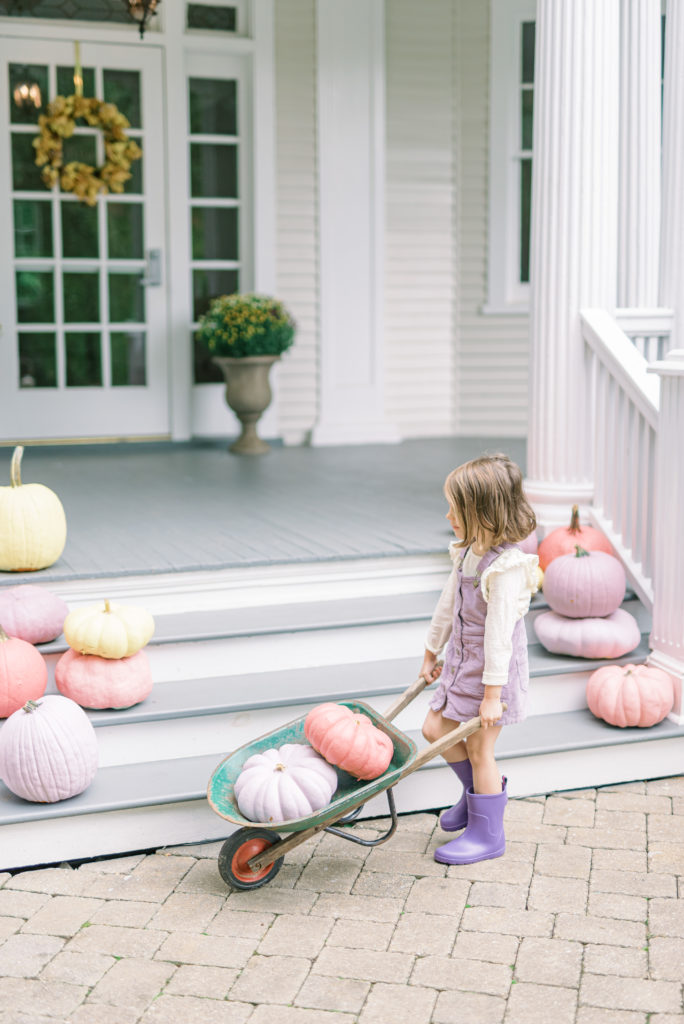
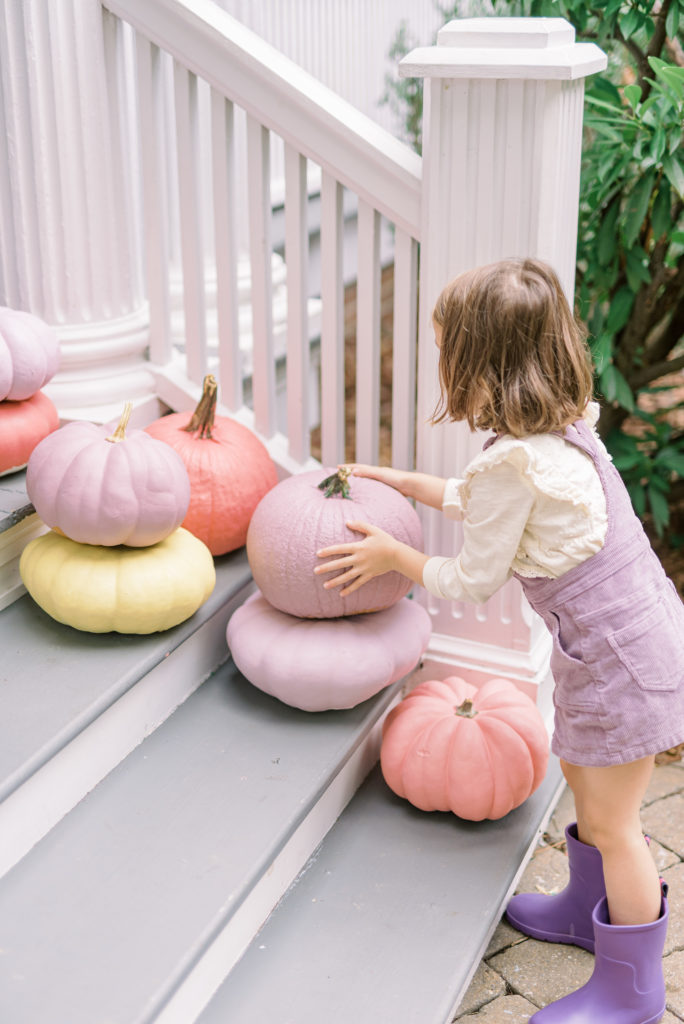
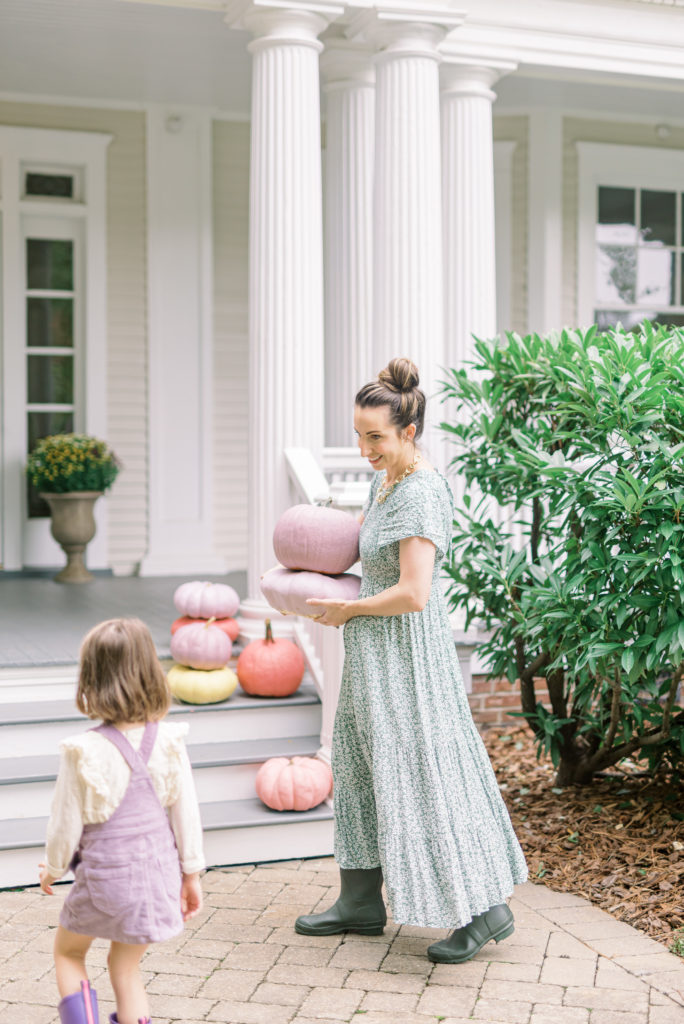
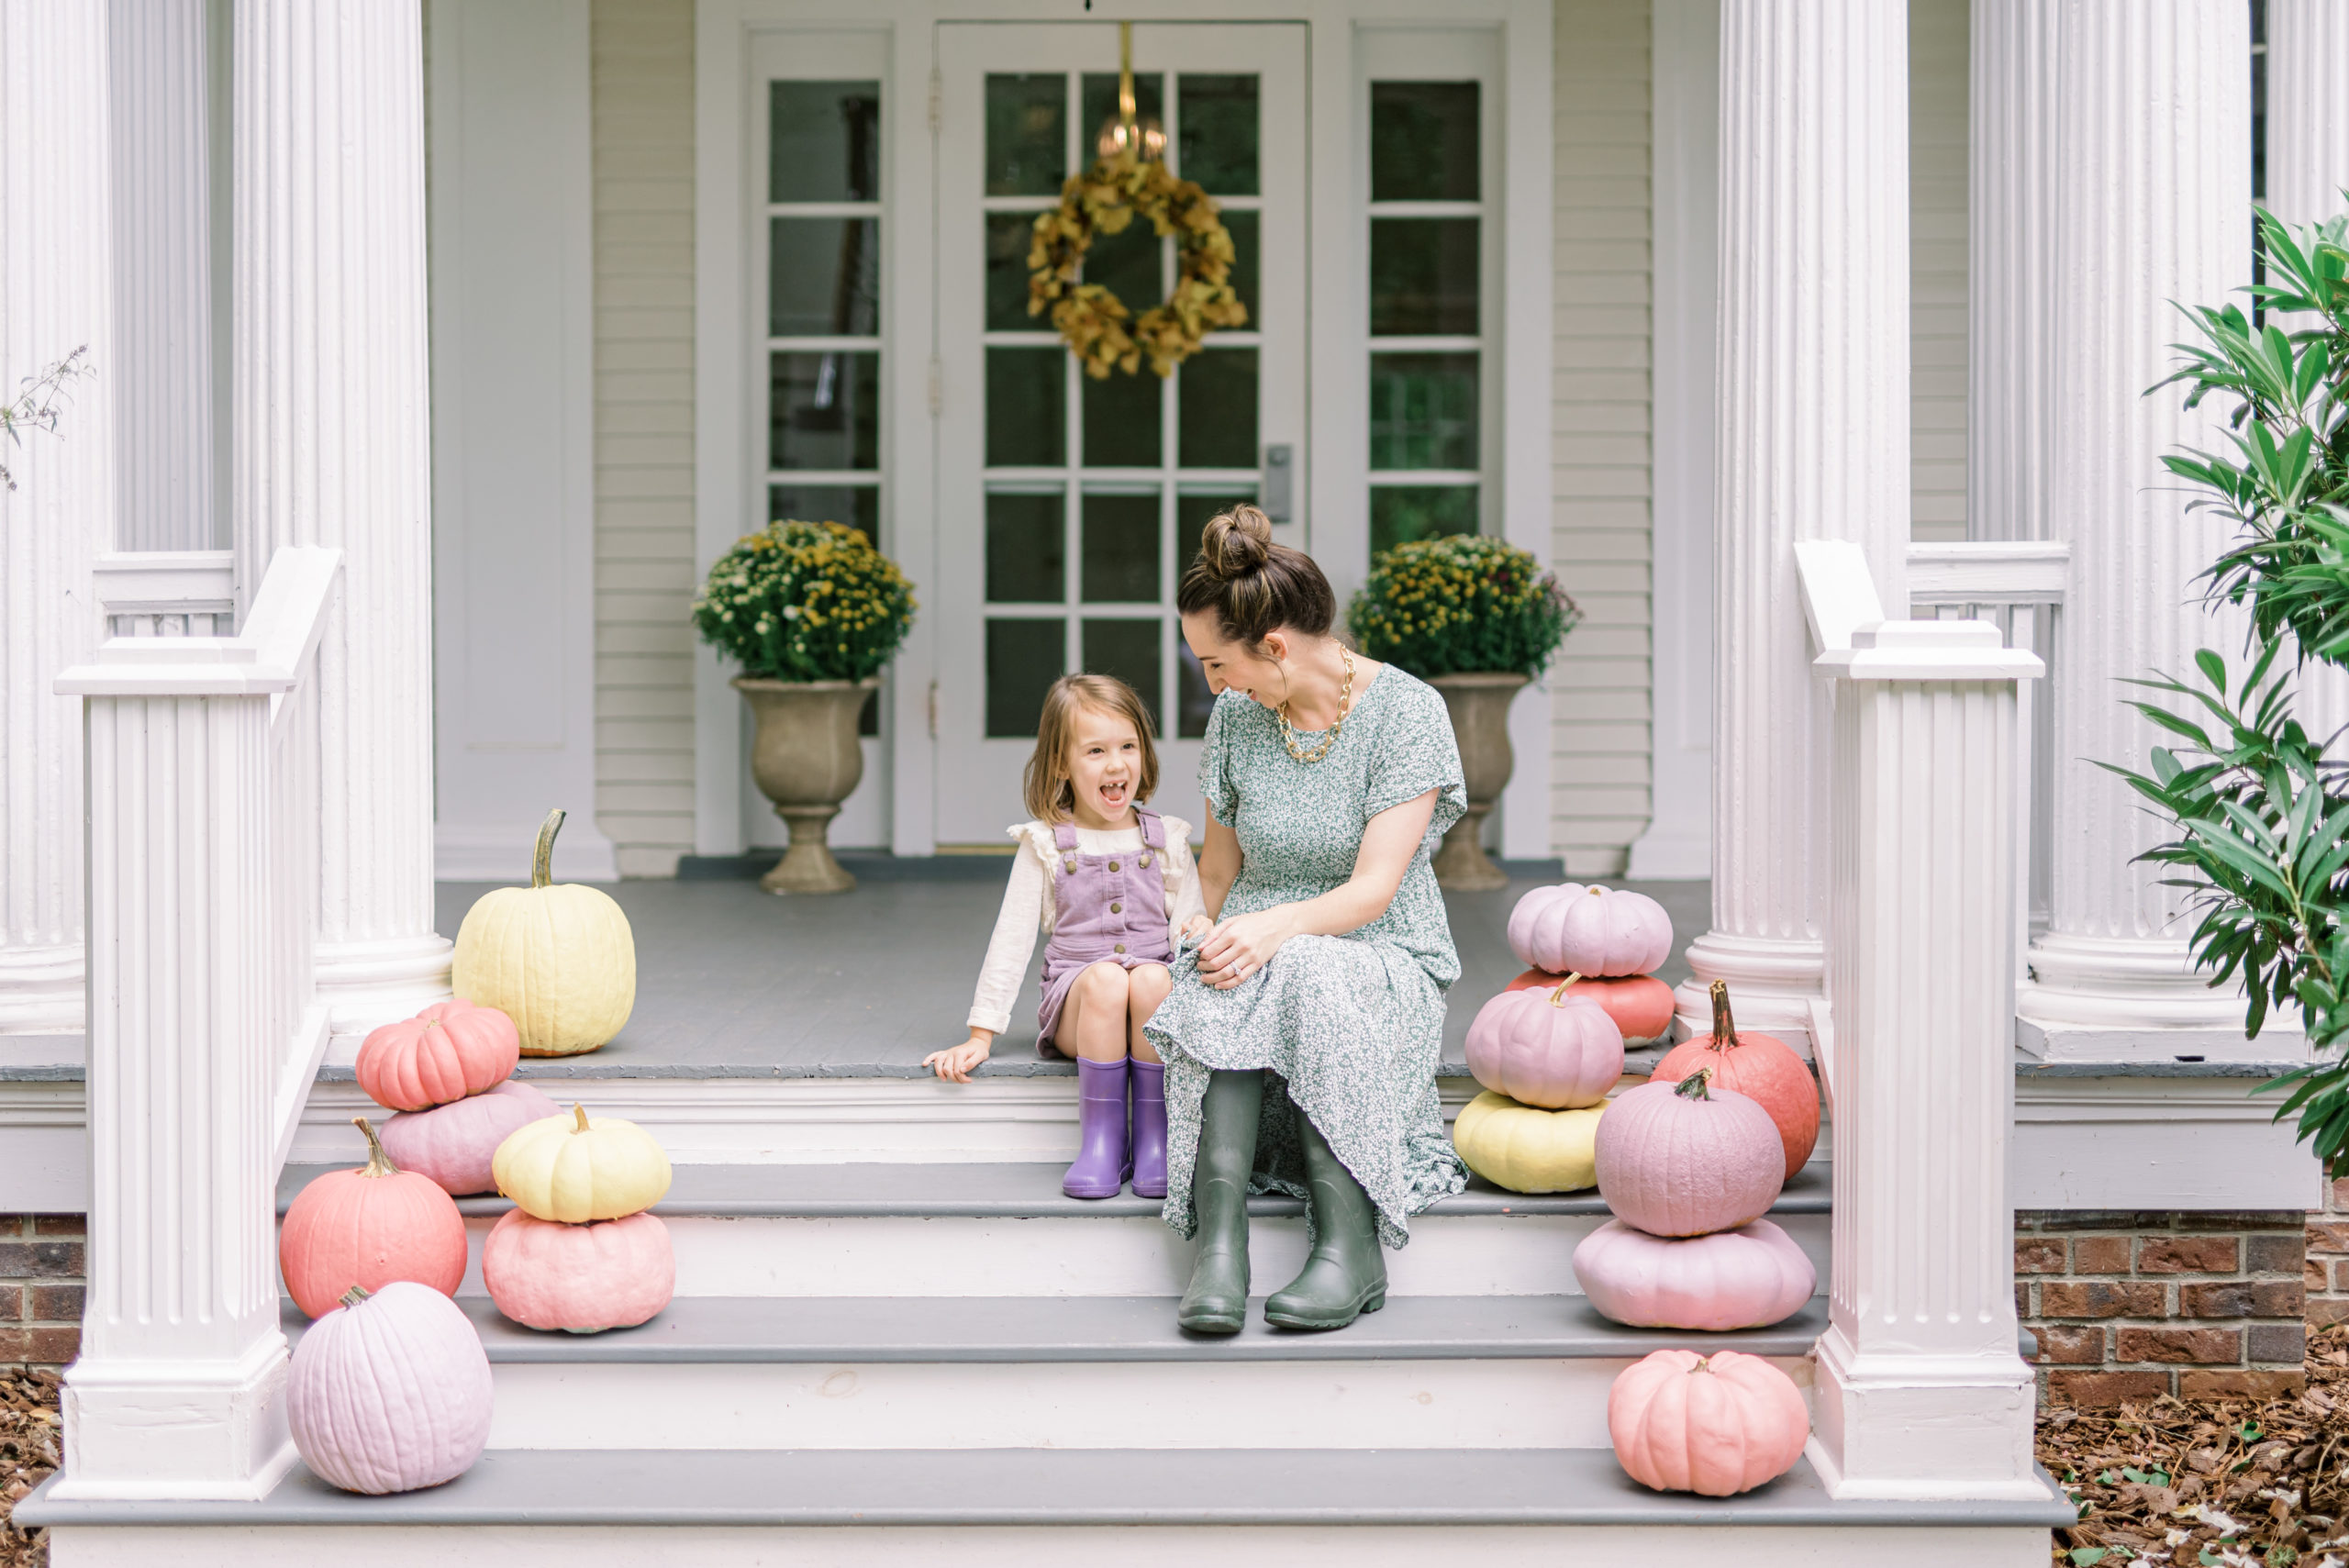
When it comes to decorating for the holidays, there are certainly things I like to take care of myself, but there are also things I want to get my kids involved with! Last year, we hosted a pumpkin painting party for my oldest two and their buddies. It got me thinking: what if my daughter and I collaborated and painted a series of pumpkins in a nontraditional way that popped on the front porch of McAlister? That thought led to a really fun project with my 5-year-old, which led to these beautiful pumpkins.
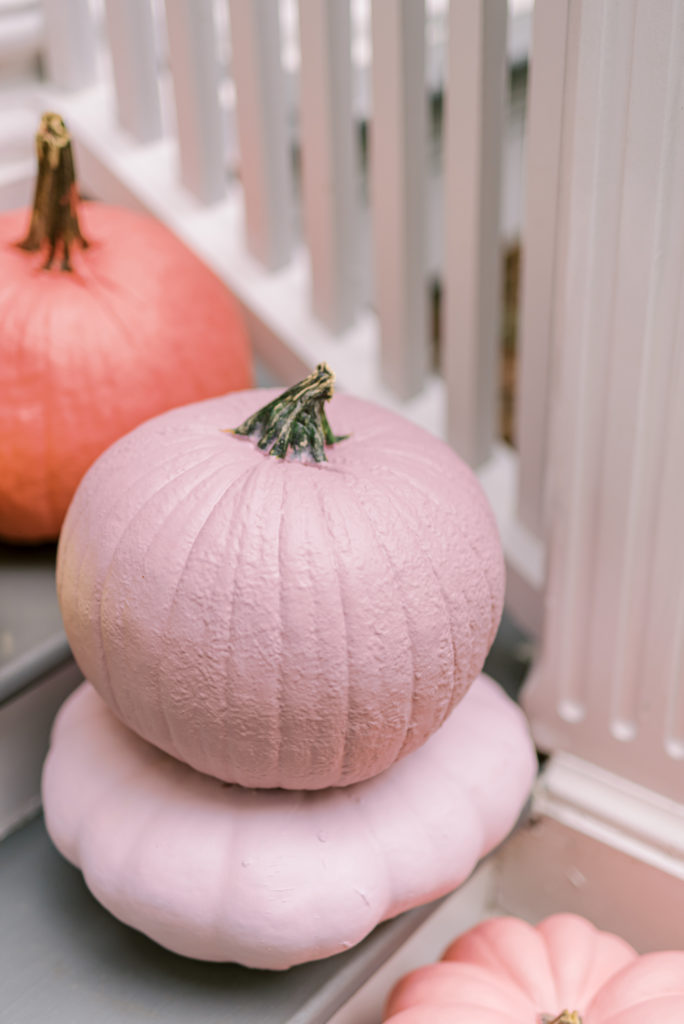
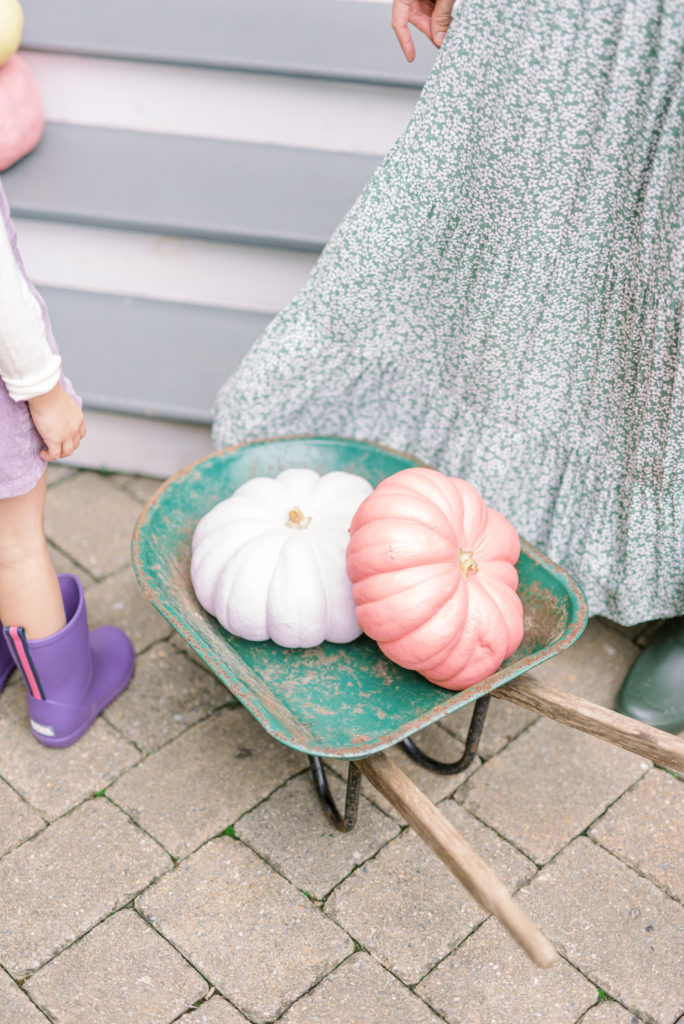
First, let’s talk pumpkins. These were from Lidl and were a whopping $3-$7 a piece, depending on if they were standard orange or heirloom. I love how you can stack heirloom pumpkins, but the height and size of a traditional orange pumpkin is hard to beat. The mix of styles and sizes is what makes this whole collection work! Truth be told, these pumpkins will most likely not make it to Thanksgiving. It’s still hot in North Carolina, so I expect them to rot over the coming weeks (a few already have!). But that’s okay.
I mentioned in a recent post (Transitional Fall Tabletop) that ushering a season into our homes, gatherings, and celebrations doesn’t have to happen all at once but can be gradual and slow, just as a season transitions in nature. It’s okay that I’m going to have to toss old pumpkins in a few weeks, because I’ll replace with something that feels more true to the Thanksgiving season, and for me, that’s part of the fun!
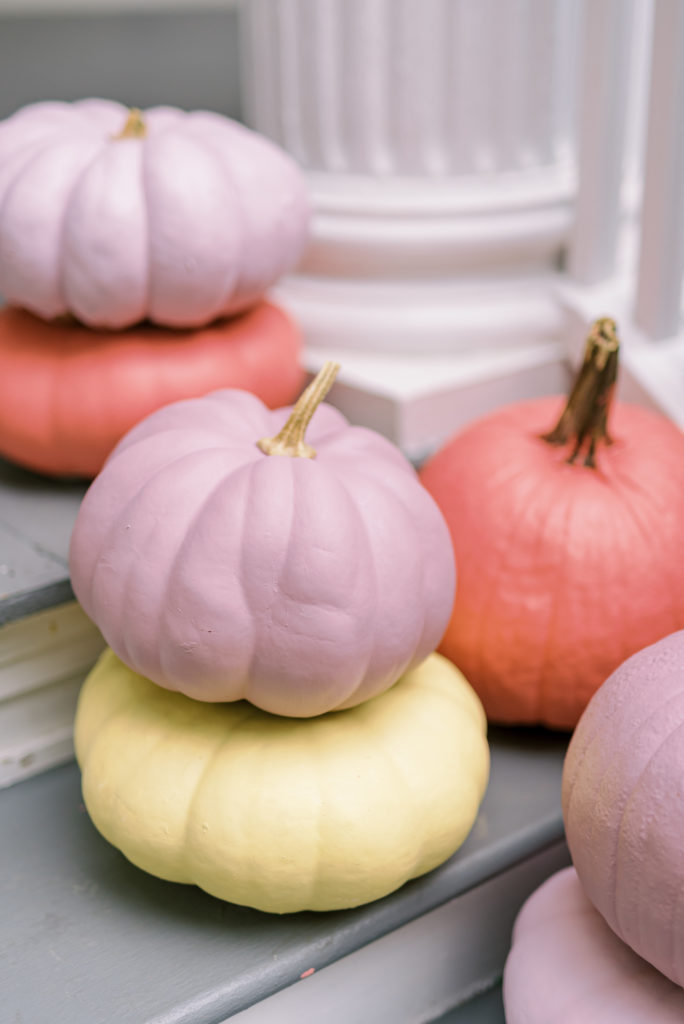
We purchased the paint from Home Depot. I went in thinking I was going to buy spray paint, but was disappointed in the color selection. Ultimately, I opted for Behr sample pots, which ended up costing what spray paint would have cost, but I (read: my daughter) got to choose the colors and it was much less messy than I anticipate spray paint would have been. Win-win-win. Here are the colors we landed on:
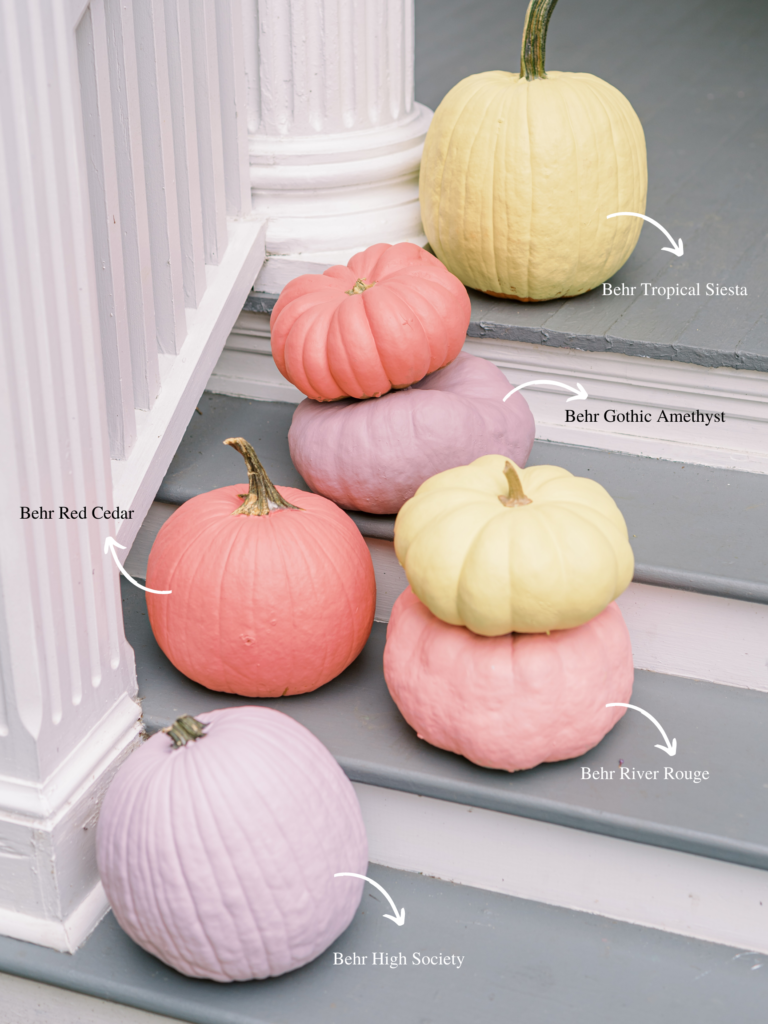
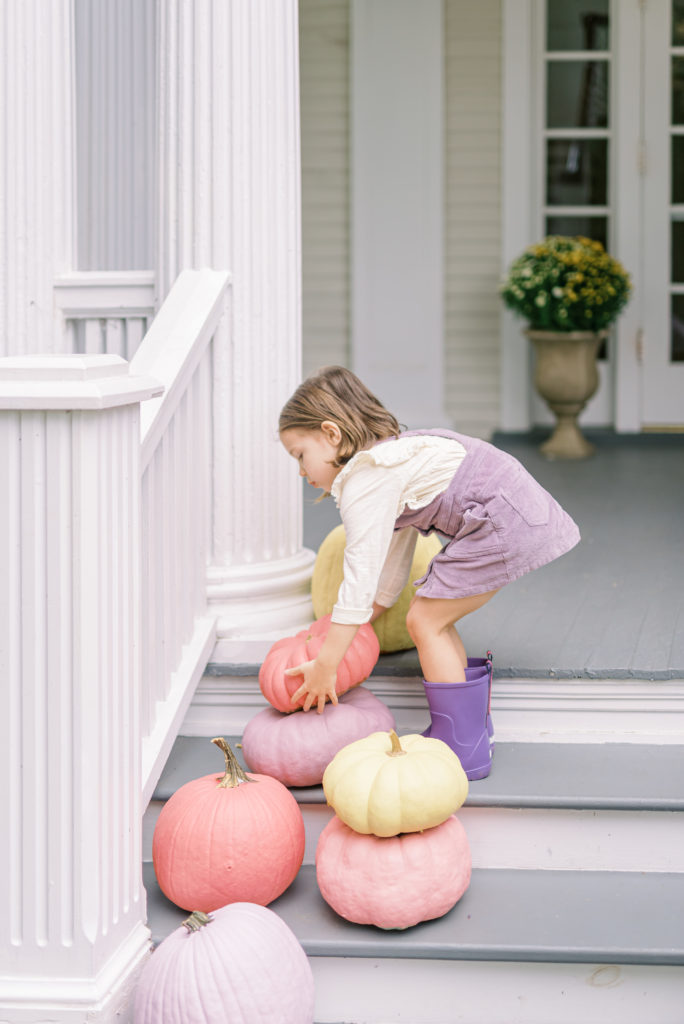
Had I done this myself, I wouldn’t have chosen these specific colors. But it wasn’t about it being exactly what I envisioned, but teaching my daughter how to think through design elements for herself. I’m so happy with what she chose because it’s perfectly representative of what she loves and what is inspiring her currently! And isn’t that what decorating our home seasonally is all about? Doing things that inspire us in the moment?
We opted for flat Behr paint because we wanted it to have a matte finish. I was unsure how well the paint would go on, but it was super thick and covered extremely well. Be sure to wipe your pumpkin off well beforehand to get rid of any dirt that might compromise the application of the paint.
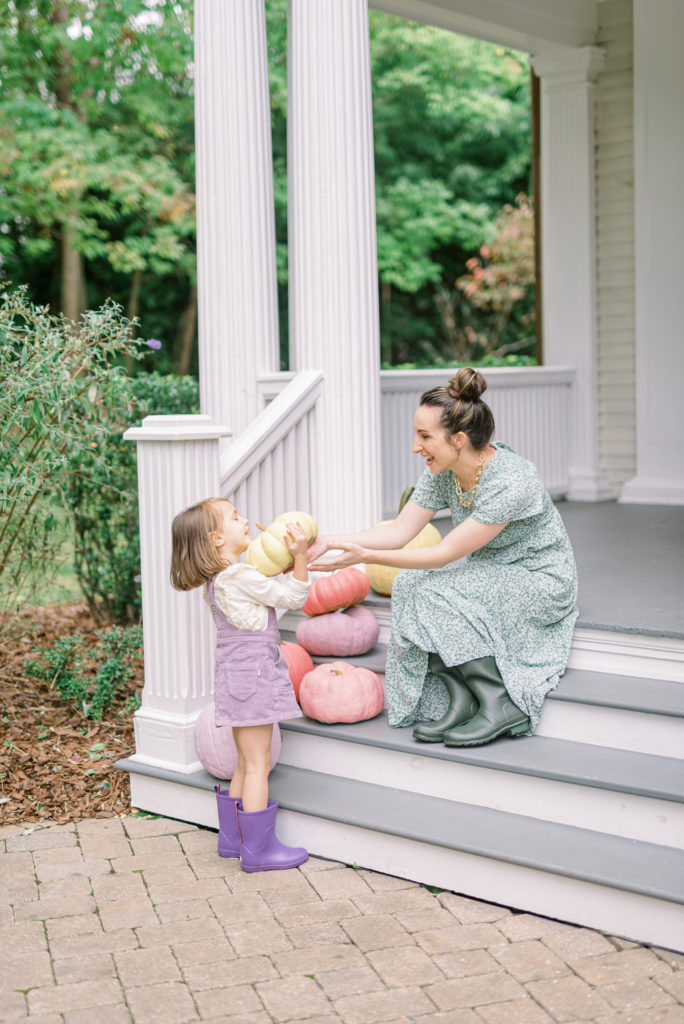
I tried a few pumpkins first to test the process before letting my daughter have a turn. (I’m no dummy, I did this while she was at school.) I used 2.5″ trim brushes and they worked super well. It was easy to get around the trunks, and you could always opt to paint those separately (gold or black would be pretty!). I chose to leave our trunks because I really did like the contrast of the natural with the painted.
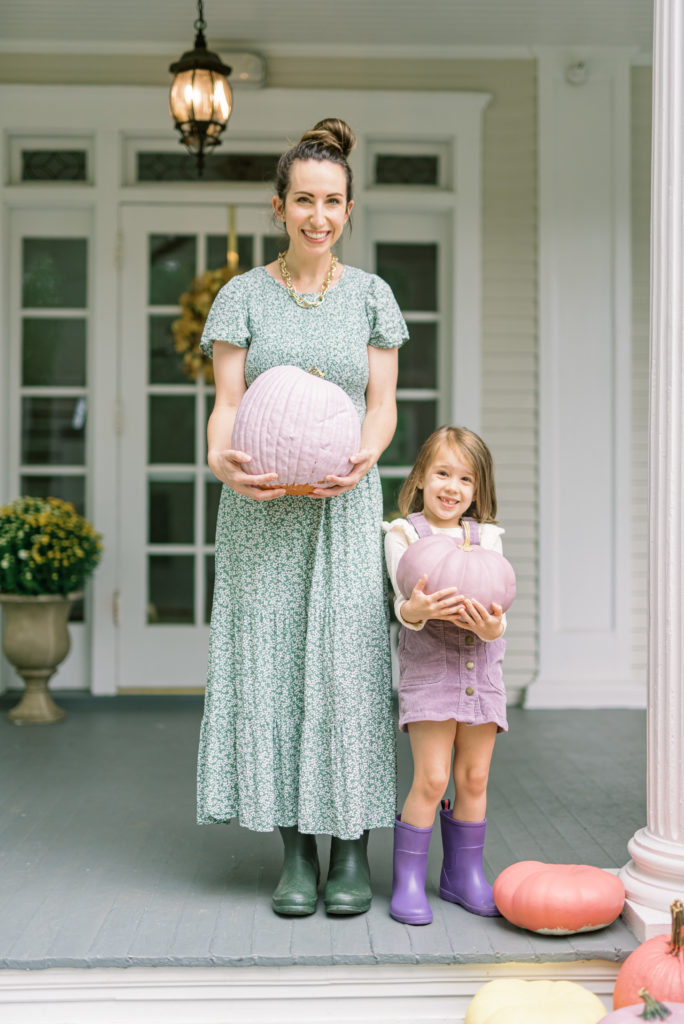
All in all, this project cost us about $115 between pumpkins, paint, and the brush. It was a super fun way to bring my daughter into the creative process and develop her own decision-making muscles that will serve her well throughout her life.
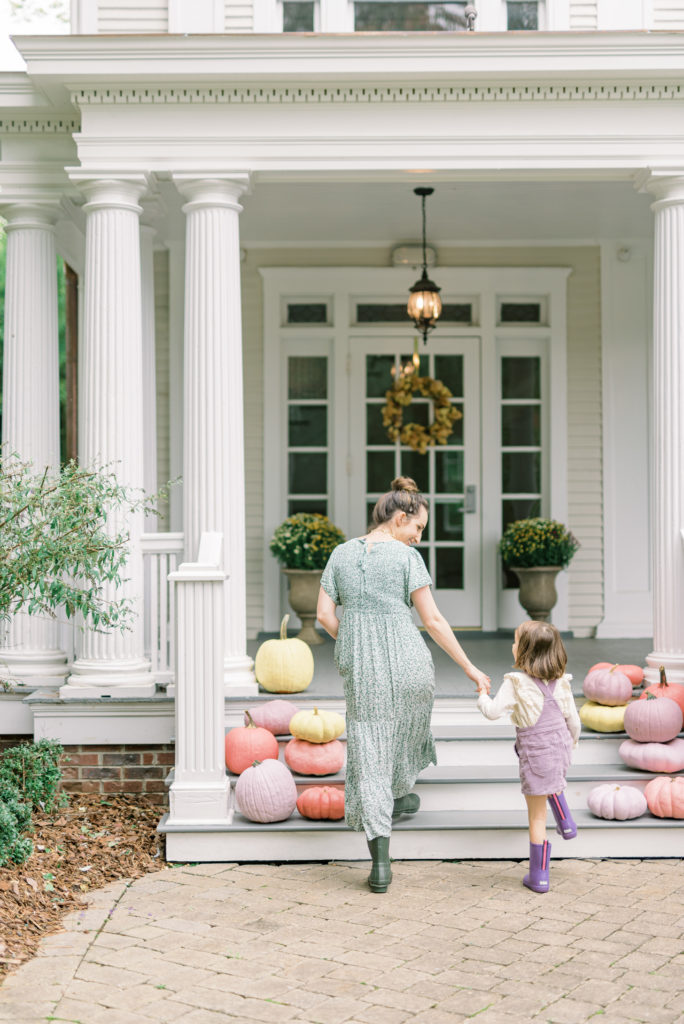
What color would you paint your pumpkins? Something more traditional or something bright like ours?!
Photography by Liz Grogan
